Project Setup
In Test Engine, projects consists of jobs, result of job runners and reports that exist within the system for testing automation. Managers can edit additional projects in Tenant if you have permission of Project Admin. Managers can add new project to the Tenant if you have permission of Tenant Admin.
Adding a Project
-
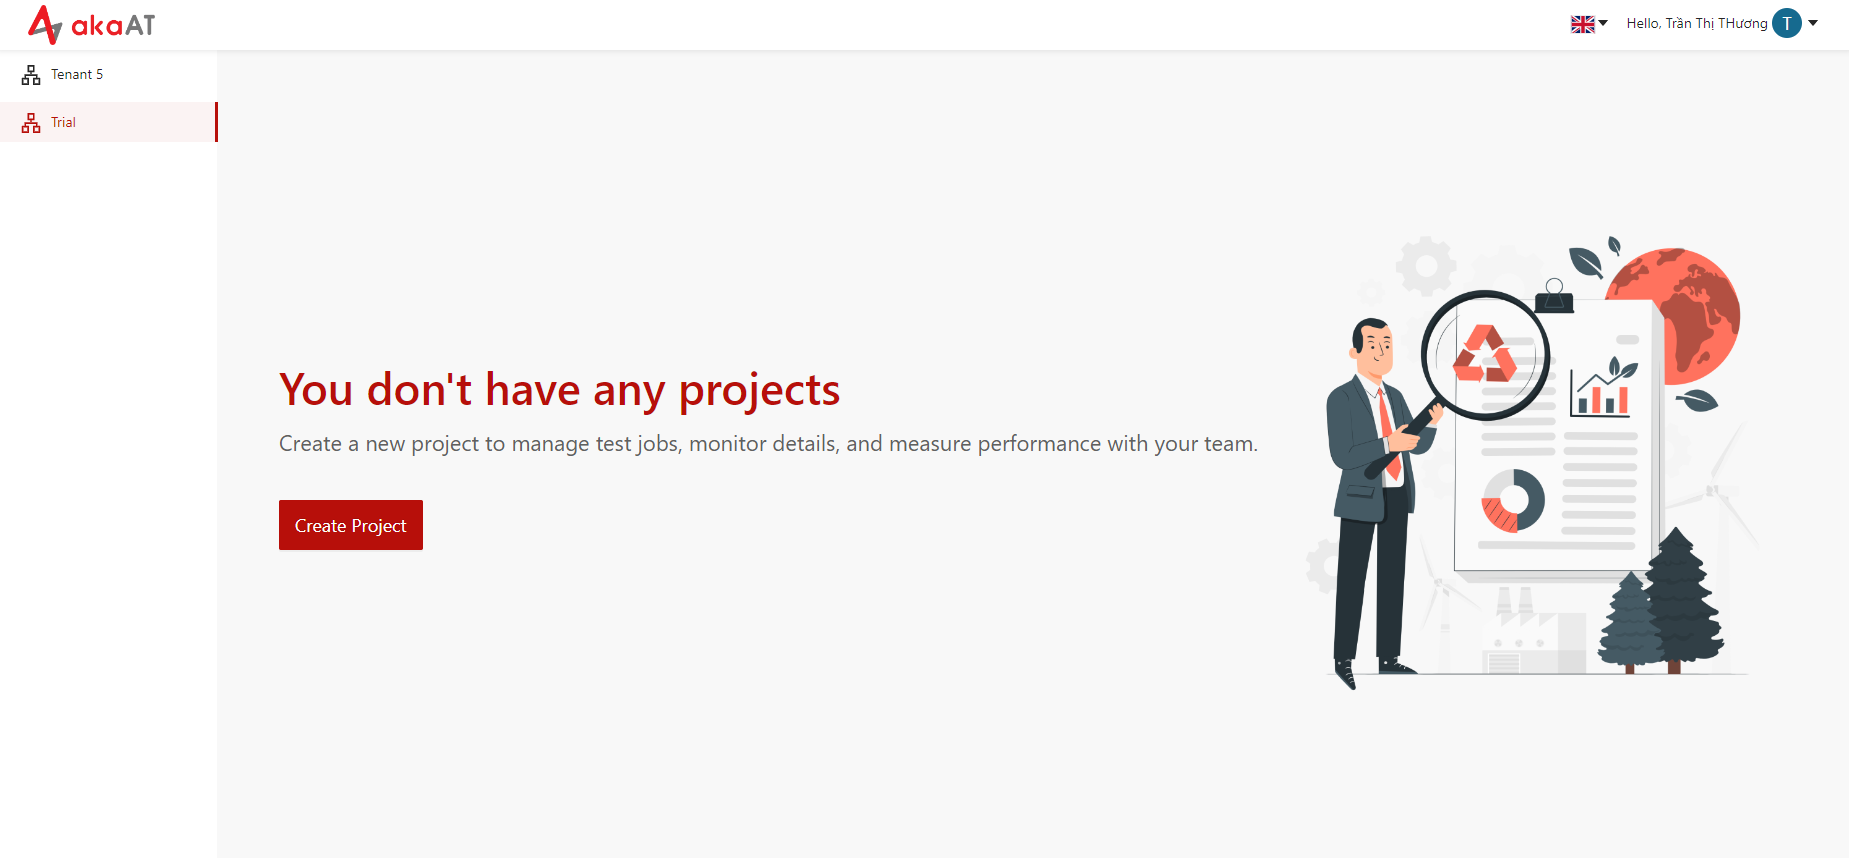
After joining in Tenant, you can click on [Create Project] button for the first project in Tenant
For the case Tenant has existed Project, when you go to Tenant, system will show board list of project → You can click on [Add] button on the top right corner.
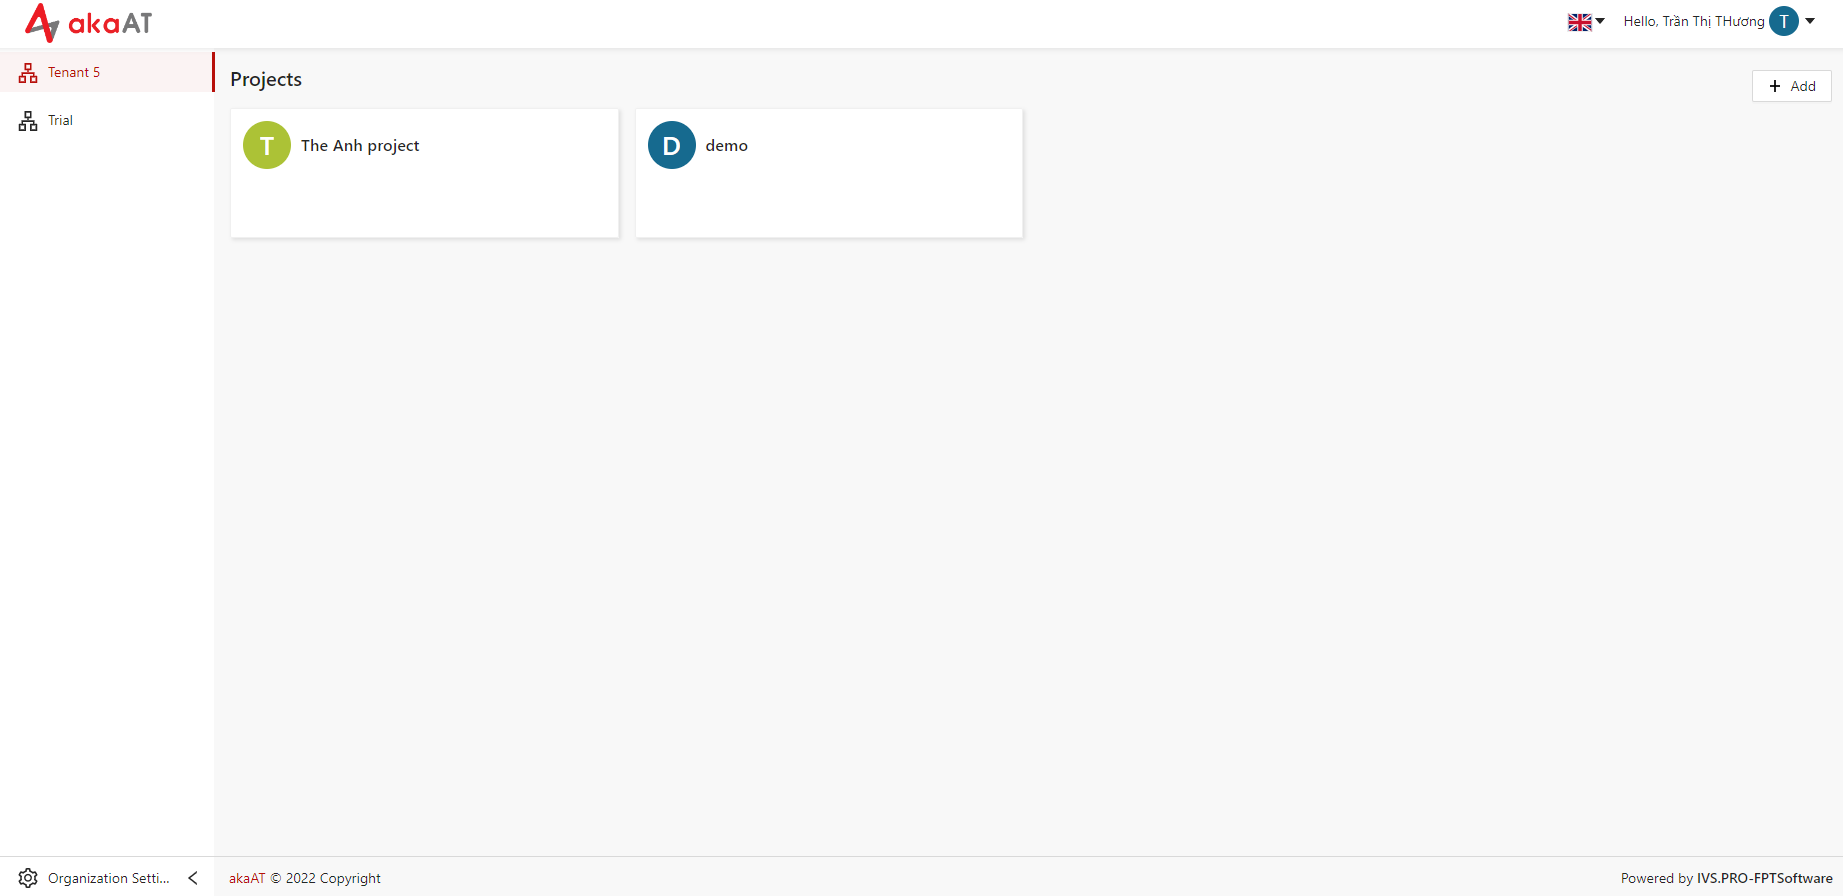
- System will show a model creating new project with additional fields
- Filling in the fields for creating new project
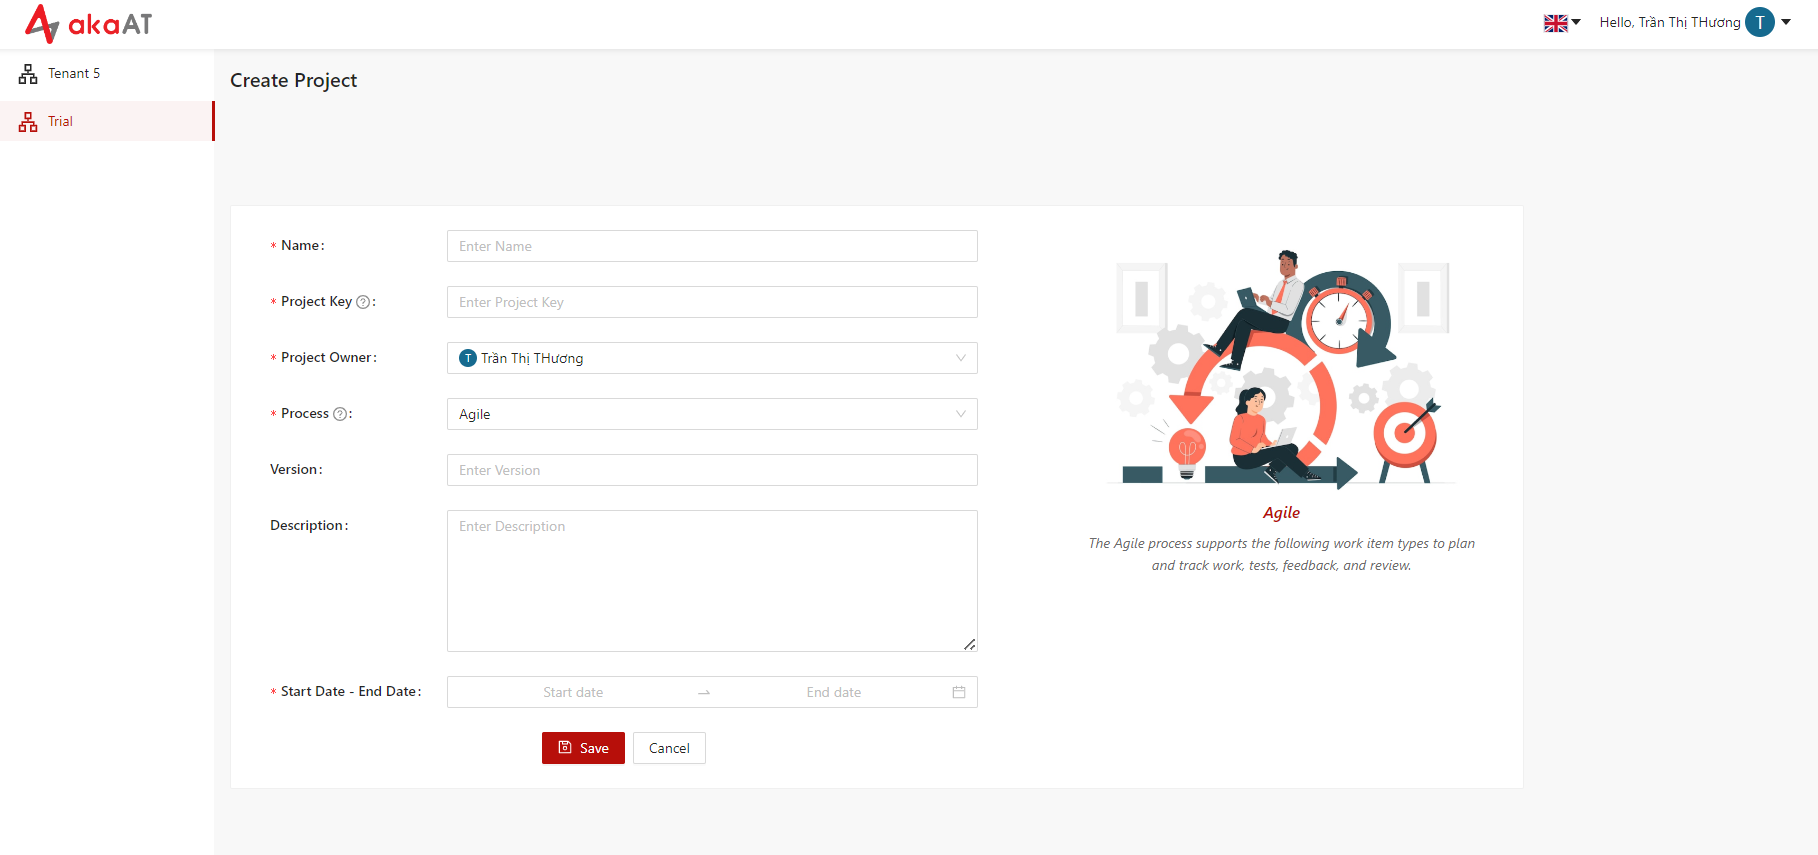
- Name: Name of the project
- Project key: Project keys are a series of alphanumeric characters that describe to people across your akaAT site what pieces of work are related to your project.
- Project Owner: Default is the user that creating project or you can change Project owner. User that assigned to Project owner will have permission “Project owner”.
- Process: There are 2 types of process for project and you can choose one of them to set process for your project
- Agile: is a software development methodology that breaks down the development process into iterations, known as sprints.
- CMMI: provides the most support for formal processes and change management; it aims to standardize routine project management processes, such as risk, quality and resource management.
- Version: You can name version for your project.
- Description: Description for your project.
- Start date: The start date of the project.
- End date: The end date of the project.
- Click on [Save] button
Editing a Project
-
Go to “General” of a project
There are 2 ways:
-
In board list of projects → clicking on [edit] icon in bottom right corner of the project
.png)
-
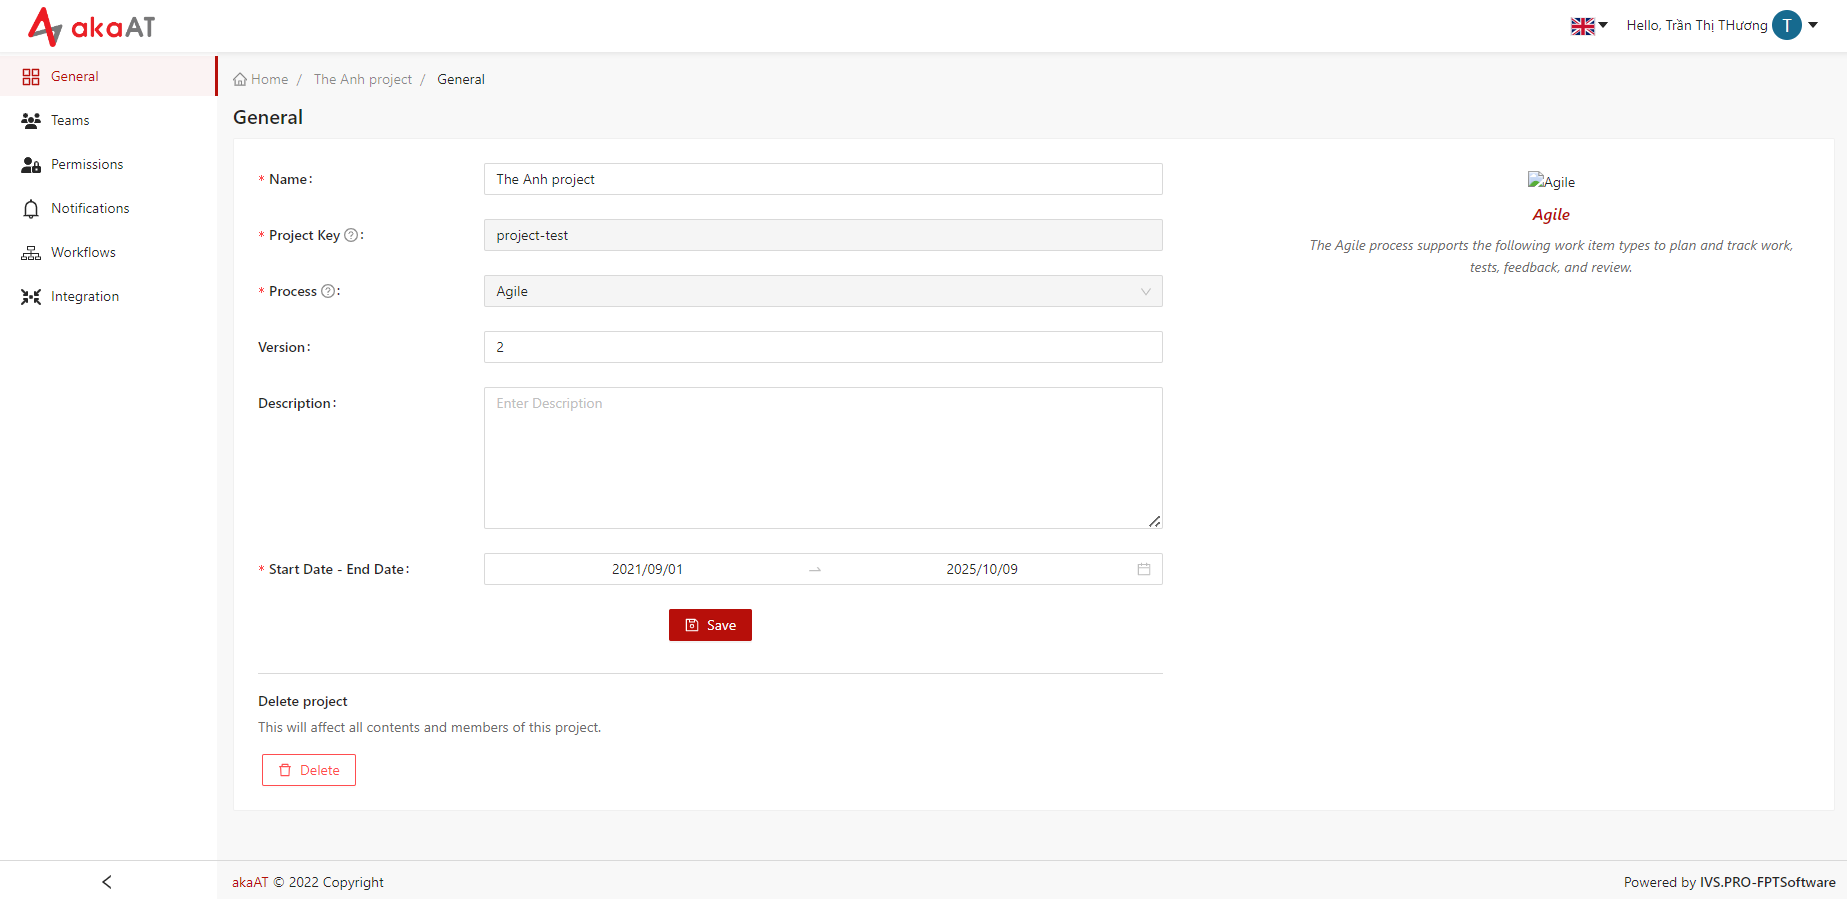
In a project, go to “Project Setting” → Choose menu “General”
→ System will show visible information of project
-
-
You can editing visible information of fields in project
- Name, version, description, start date, end date
- Clicking on [Save] button to update new change
- System will show message “Do you want to update new changes?”
- Simply clicking on [Save] to confirm update new changes.
Deleting a Project
There are 2 ways to delete a project:
- In board list of projects, clicking on [Delete] icon in bottom right corner of the project
- In project, go to “Project Setting”, then select menu “General” → Clicking on [Delete] button
→ System will show warning “Are you sure you want to delete this project?” → Simply click on [Yes] button to delete project