Test Suite
1. Prerequisites
- You must have project role is Project Owner or Project Manager or Test Lead
- There must be an existing project, Release and Cycle that has been created.
NOTE: Add Sub - Test Suite, Rename, Delete, Re-cycle, Clone Format, Auto Separate, Auto Assign, Relate to, Properties features is not visible if current Suite is baselined (means Test Suite's Status = Released).
2. What is the test suite?
Test Suite is storage of Test execution. Test suite is a level under Cycle. Refer How to create Test Suite
3. Creating new Test Suite
Users can just add test cases to Test Planning by creating test suite
Prerequisites
You must have project role is Project Owner or Project Manager or Test Lead
-
From Test Planning screen, clicking on the [Vertical ellipsis] icon in cycle that wanting to add test suite into
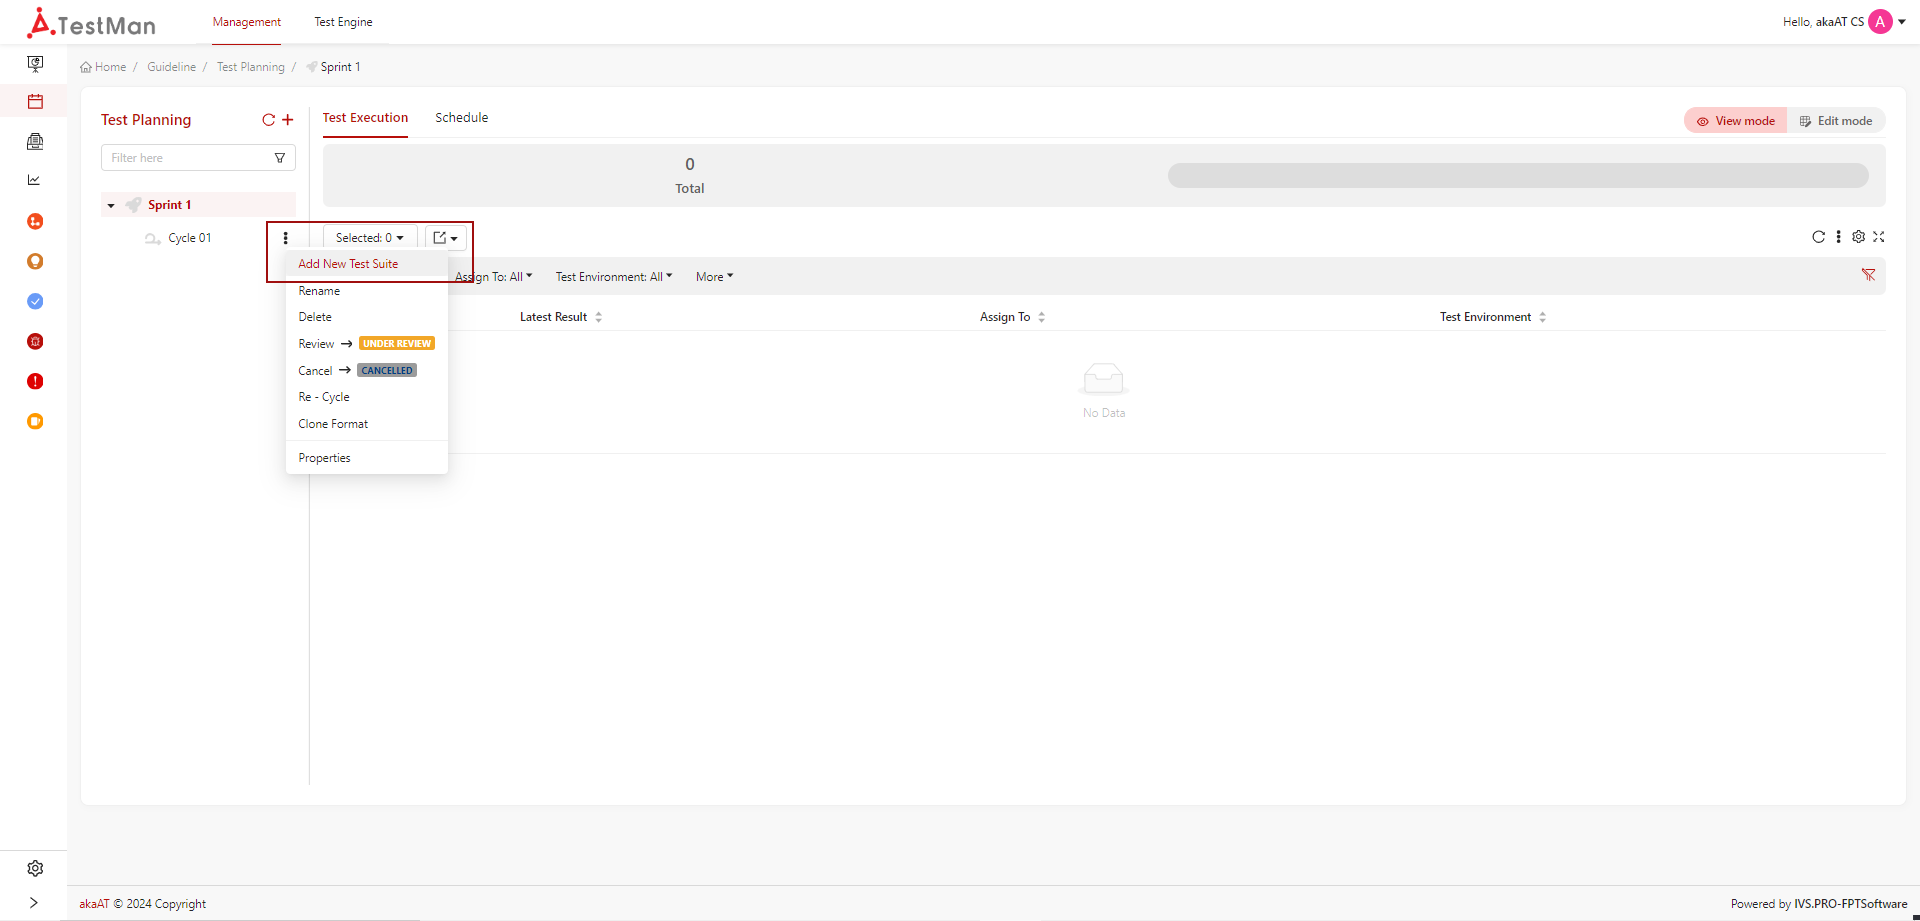
- System will displaying Add new Test Suite popup
-
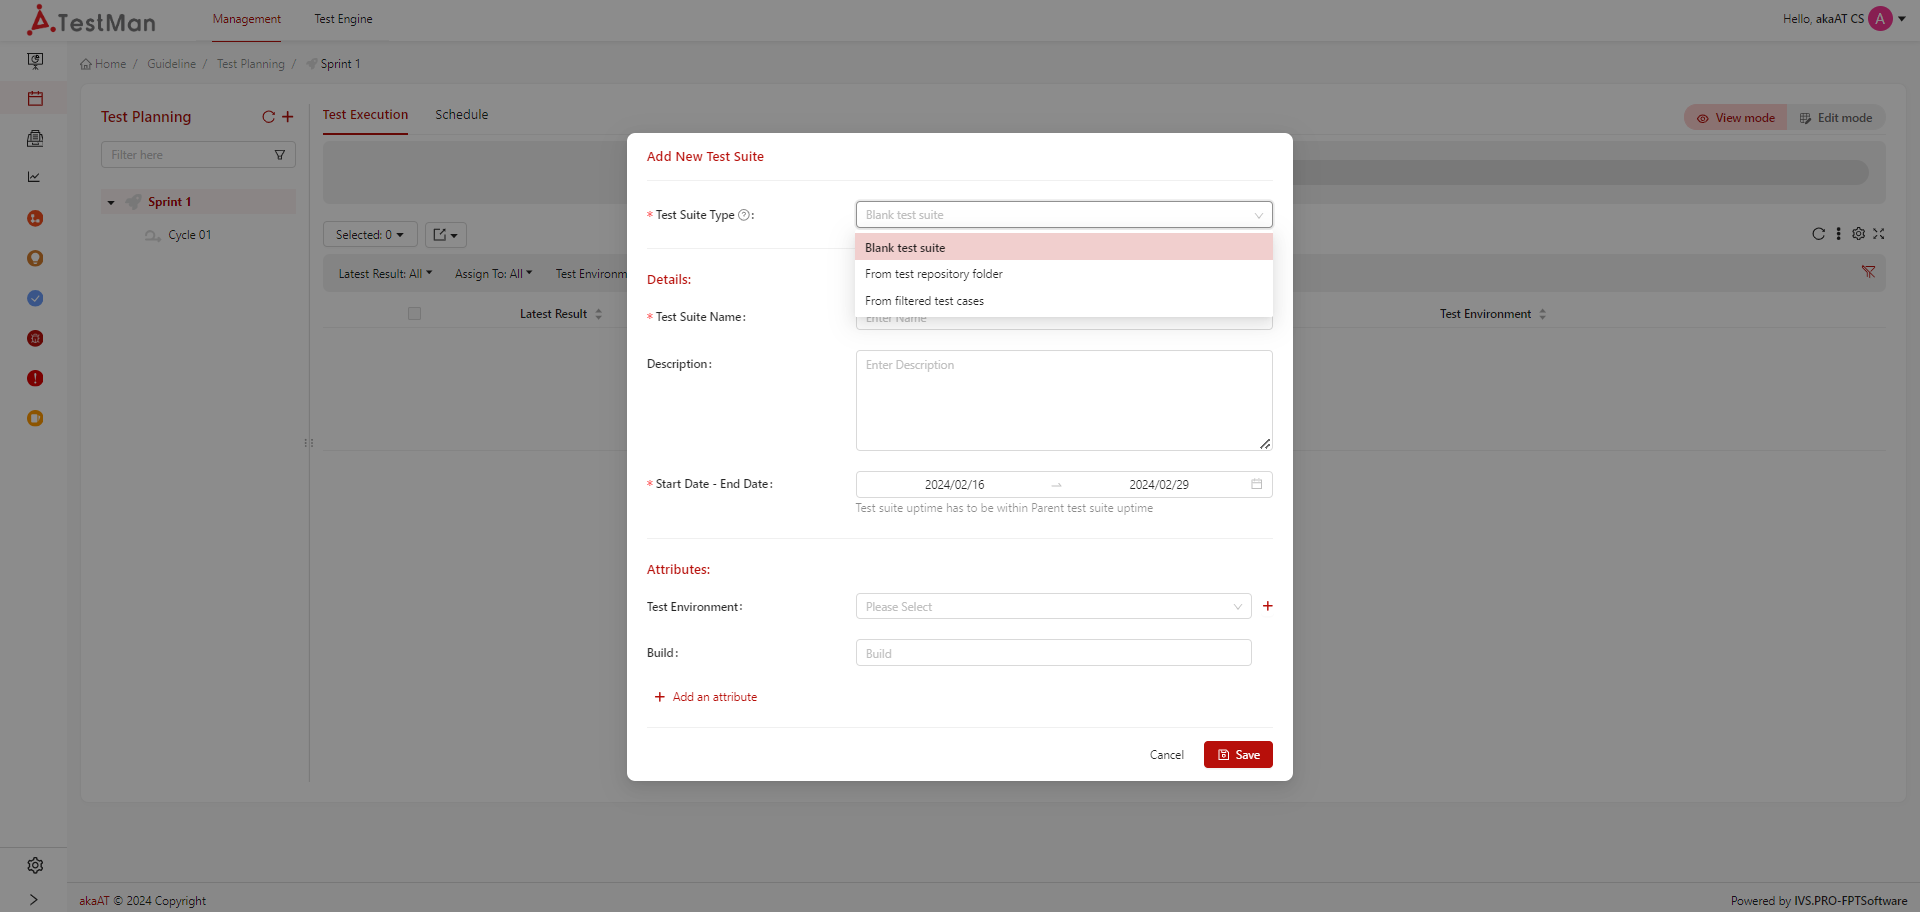
Fill in the fields for creating a Test Suite
- Test Suite Type: With test suite, having 3 types of Test suite:
- Blank Test suite: Users can create a blank test suite (such as blank folder) then adding test case into later.
- From Test Repository Folder: Users can select current existed folders from Test Repository. With this test suite type, system will default get all test cases of that folder to test suite
- From Filtered Test cases: With this test suite type, user can select test cases in project to test suite
In case users create sub test suite, system has one more test suite type is "From Parent Test Suite": Users can create new sub test suite and get test executions from parent test suite base on filter that users selected.
- Test Suite Name: Name of Test suite. In case user select test suite type is "From Repository folder", system will auto generate name of test suite is name of selected folder, user can edit it
- Description: Describe for the Test Suite (optional field)
- Start Date - End Date: Start - End Date of the Test suite. You can just select for test suite is in range date of cycle. In case for sub test suite - is in range date of parent test suite
Note - You can add more attributes for Cycle such as: Assign To, Tags, Estimated Time, Script Path, Run Type, Priority.
- Test Suite Type: With test suite, having 3 types of Test suite:
-
Clicking on [Save] button to complete adding new Test Suite > Default status of Test Suite after being created is "Draft"
4. Edit Test Suite information
Prerequisites
- You must have project role is Project Owner or Project Manager or Test Lead
- Test Suite is not in status "released"
- In Test Suite that you want to edit information, clicking on [Vertical ellipsis] icon
-
System will display list of options in each Test Suite, select "Properties"
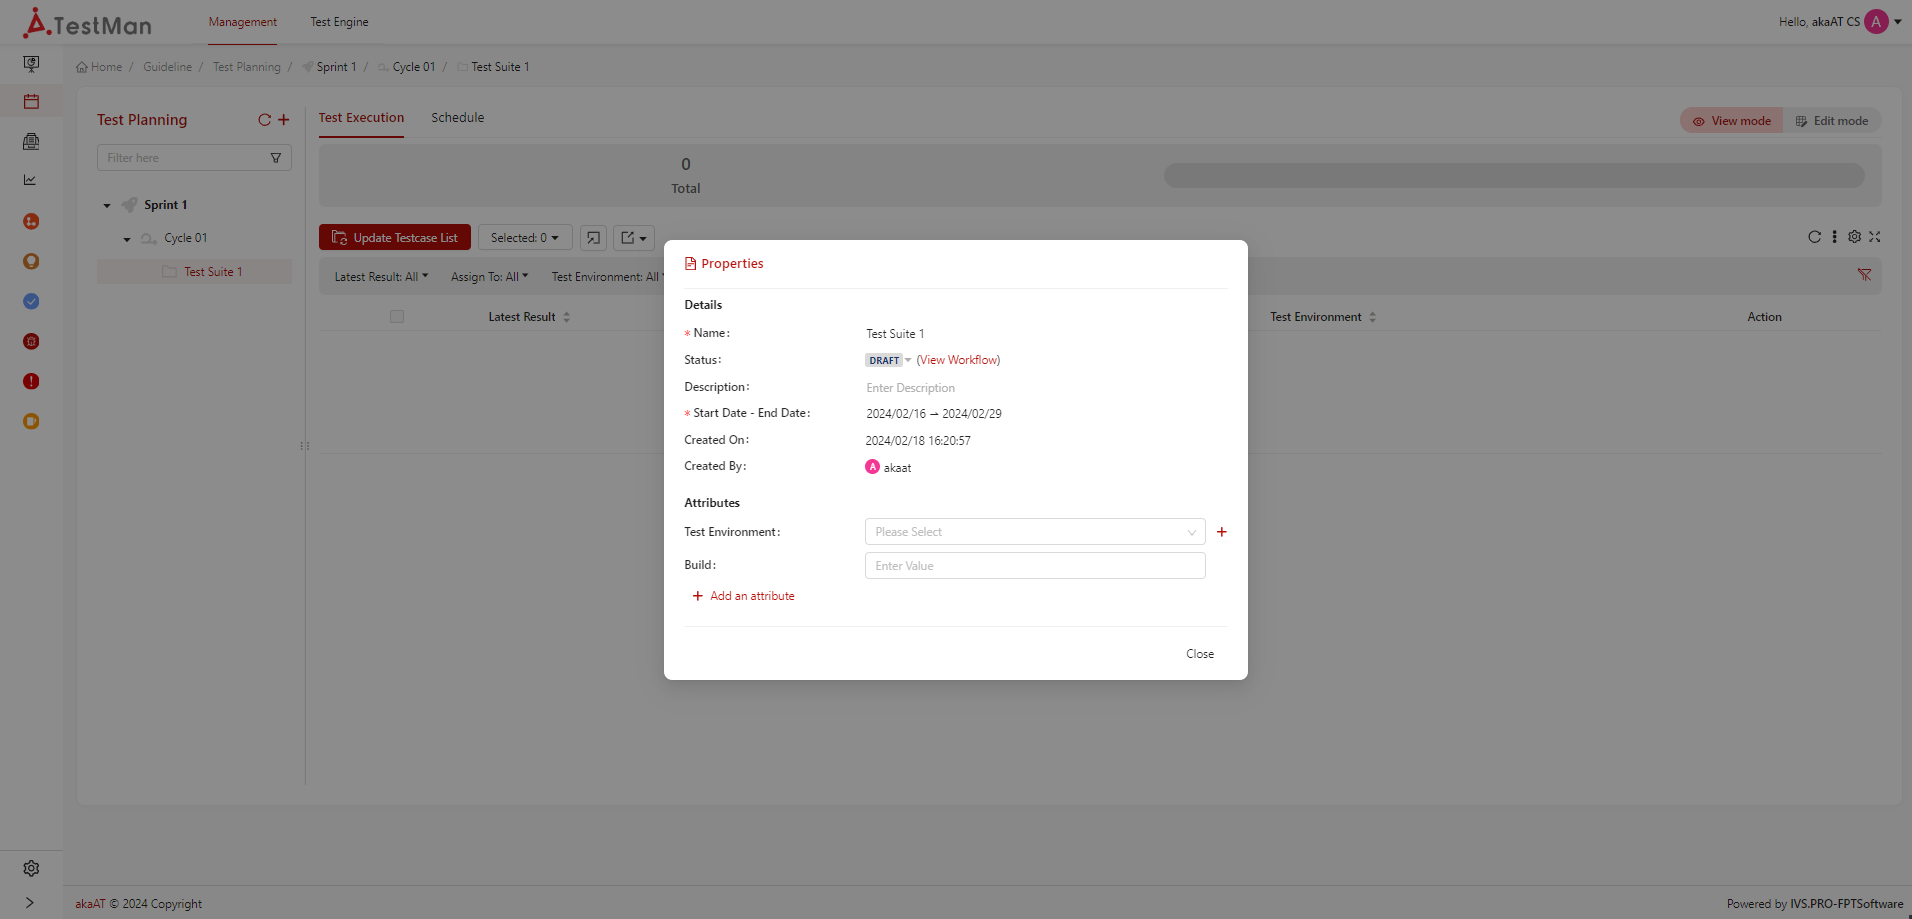
You can view Test Suite information and edit in this popup
-
Edit in each field. Clicking on the space of field that wanting to edit, edit it then clicking on [Save] icon for updating new changes.
Rename Test Suite
Beside rename Test Suite in Properties popup, you can:
Clicking on [Vertical ellipsis] icon in Test Suite that you want to rename. Then select option "rename", rename and submit saving by clicking on other space for update new changes
Delete Test Suite
Prerequisites
- You must have project role is Project Owner or Project Manager or Test Lead
- Cycle is not in status "released"
- In Test Suite that you want to delete, clicking on [Vertical ellipsis] icon
-
From list of options in each Test Suite, select "Delete". System will display confirmation popup
-
Simply clikcing on [Delete] button for submit deleting Test Suite.
Note - You can not delete Test Suite is in status "Released" - After deleting Test Suite, all test results from that Test Suite will be deleted.
Clone format
When user select clone option from an exsiting Test Suite, new Test Suite will have created with same Test Suite, sub Test Suite but not contains test cases. New Test suite will have DRAFT status.
Re-Cycle
In many projects, after the testing process, users can perform regression testing. TestMan provides the re-cycle feature so that users can create a new Test Suite as quickly as possible.
This feature is same as re-cycle cycle.
Auto Separate
Divide origin test suite by percentage of selected attribute value. There are 2 options to separate test suite.
Option 1: Allocate attribute's values to every test cases in current Test Suite.
- Select attribute to allocate. User can able to allocate by value of some attribute like Tags, Estimated time, Test Environment, Script path, Run type, Priority.
-
Select attribute value
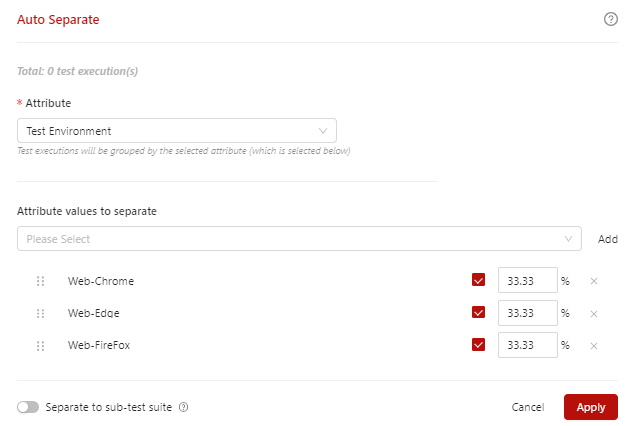
-
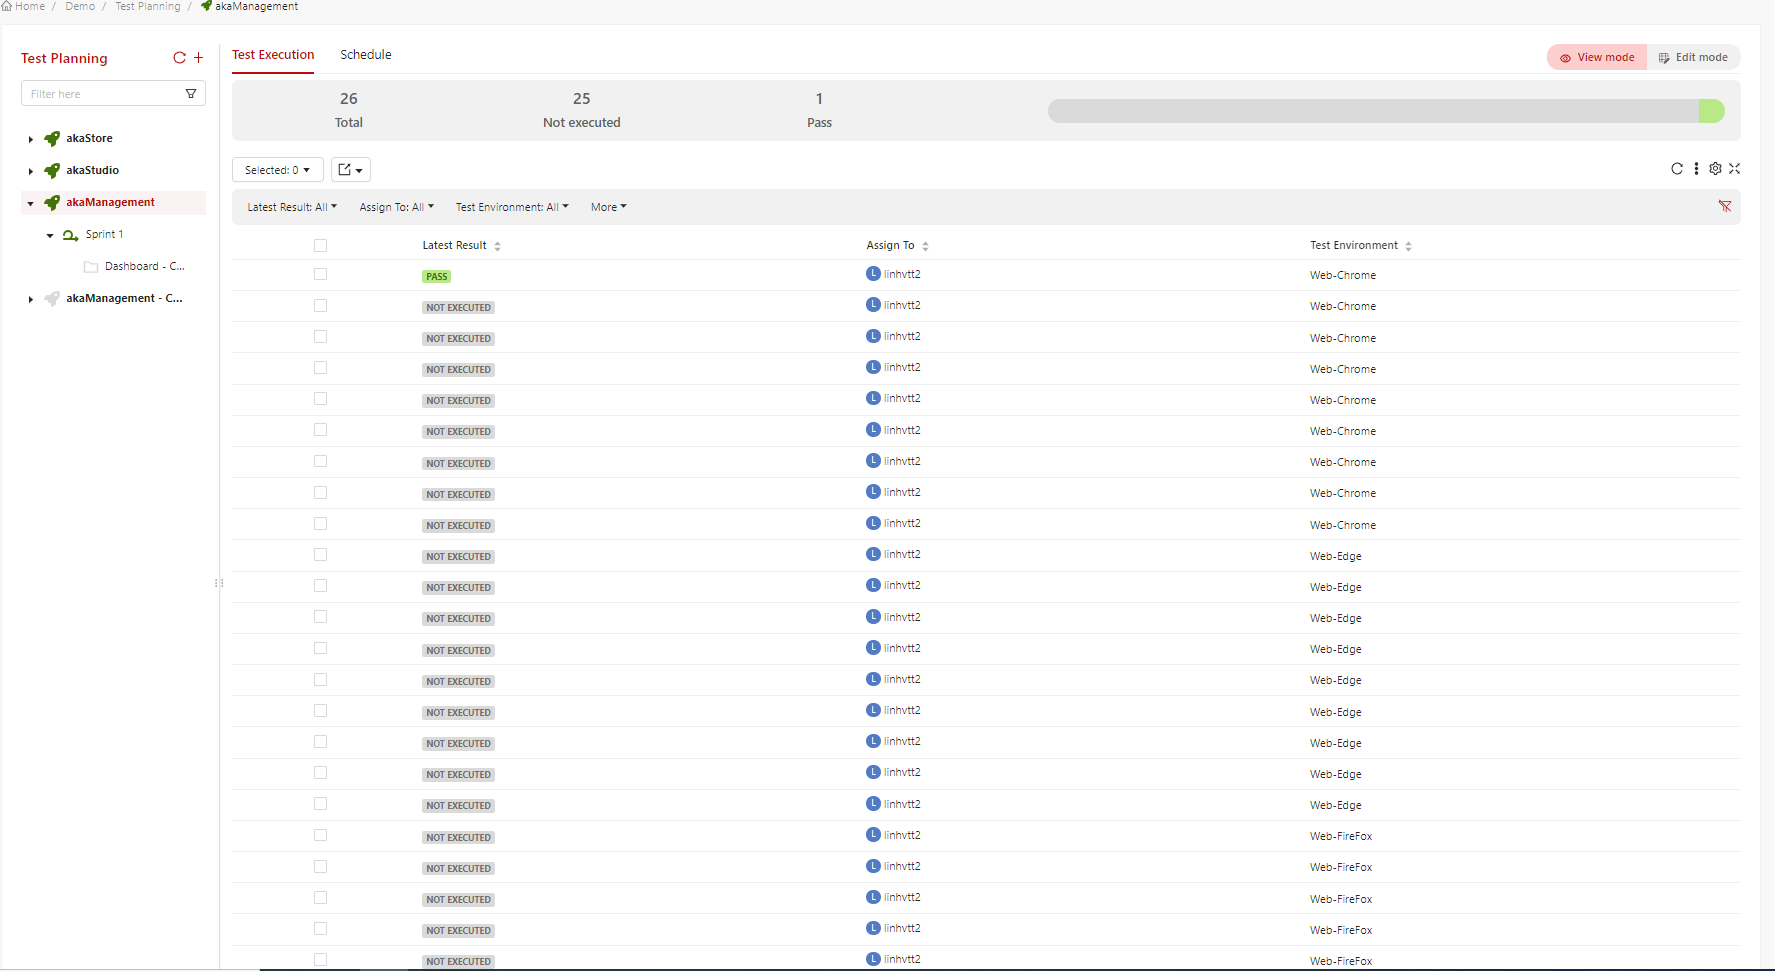
Click on Apply button and confirm Apply. You can see, selected attribute are allocated to every testcase by percentage as image below:
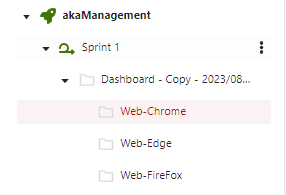
Option 2: Break origin test suites into many sub test suites by selected attribute.
- Select attribute to separate. User can able to separate test case in the test suite by Tags, Estimated time, Test Environment, Script path, Run type, Priority.
- Select attribute value
-
Switch on the Separate to sub-test suite button
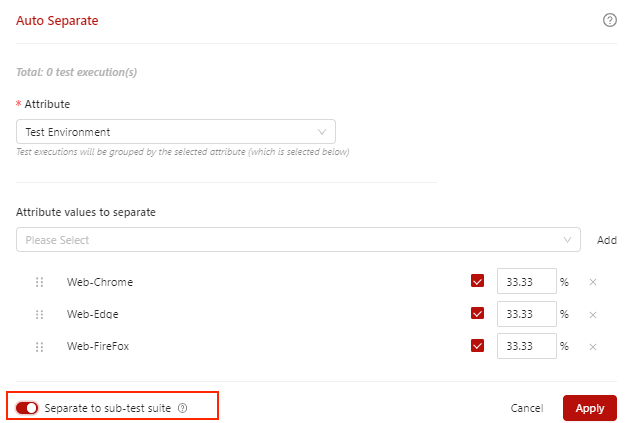
-
Click on Apply button and confirm Apply
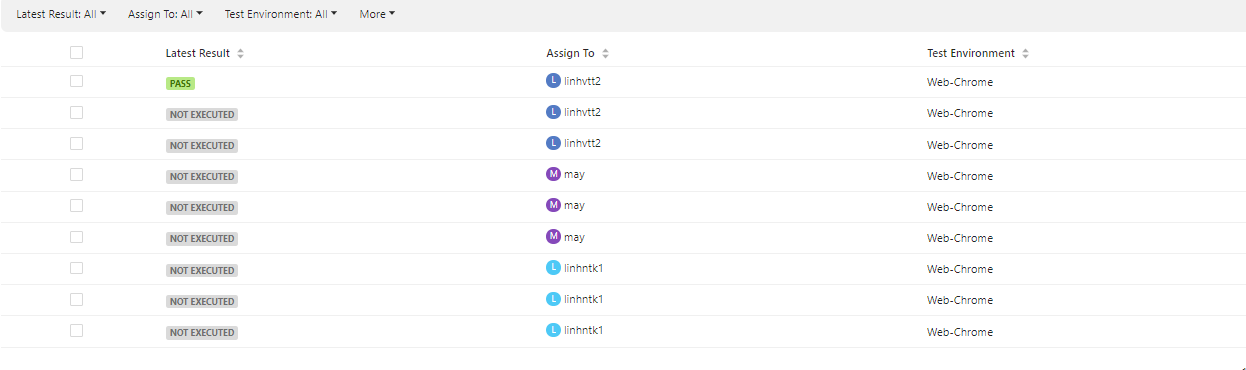
Auto Assign
Allocate test cases in test suite by percentage of selected assignee.
- Add assignee to separate
-
Click on the checkbox
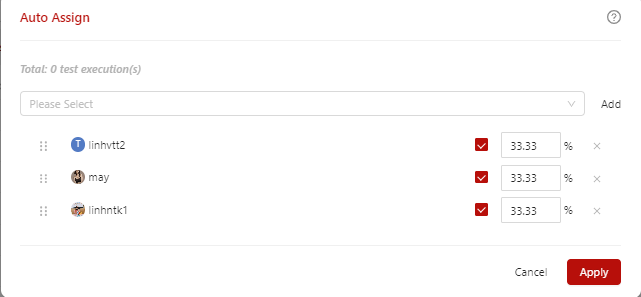
-
Click on Apply button and confirm Apply
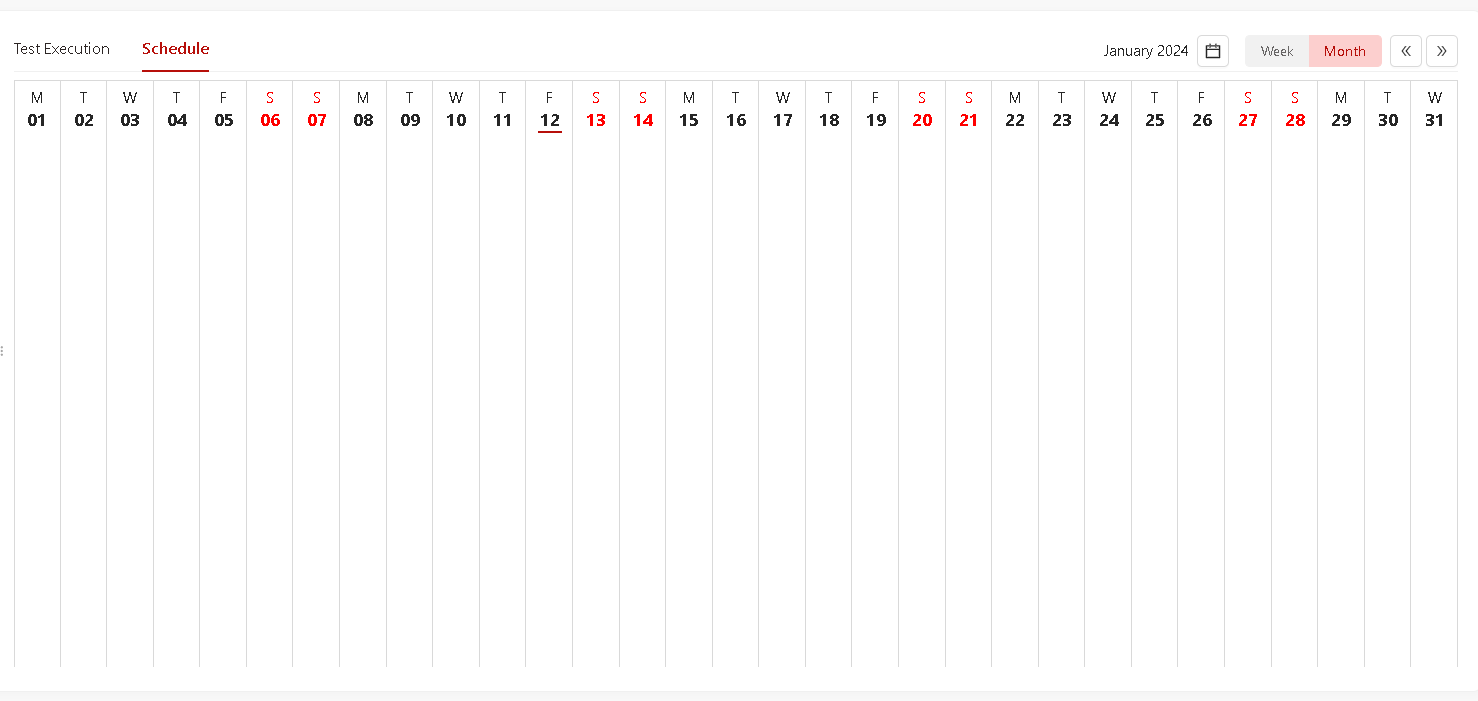
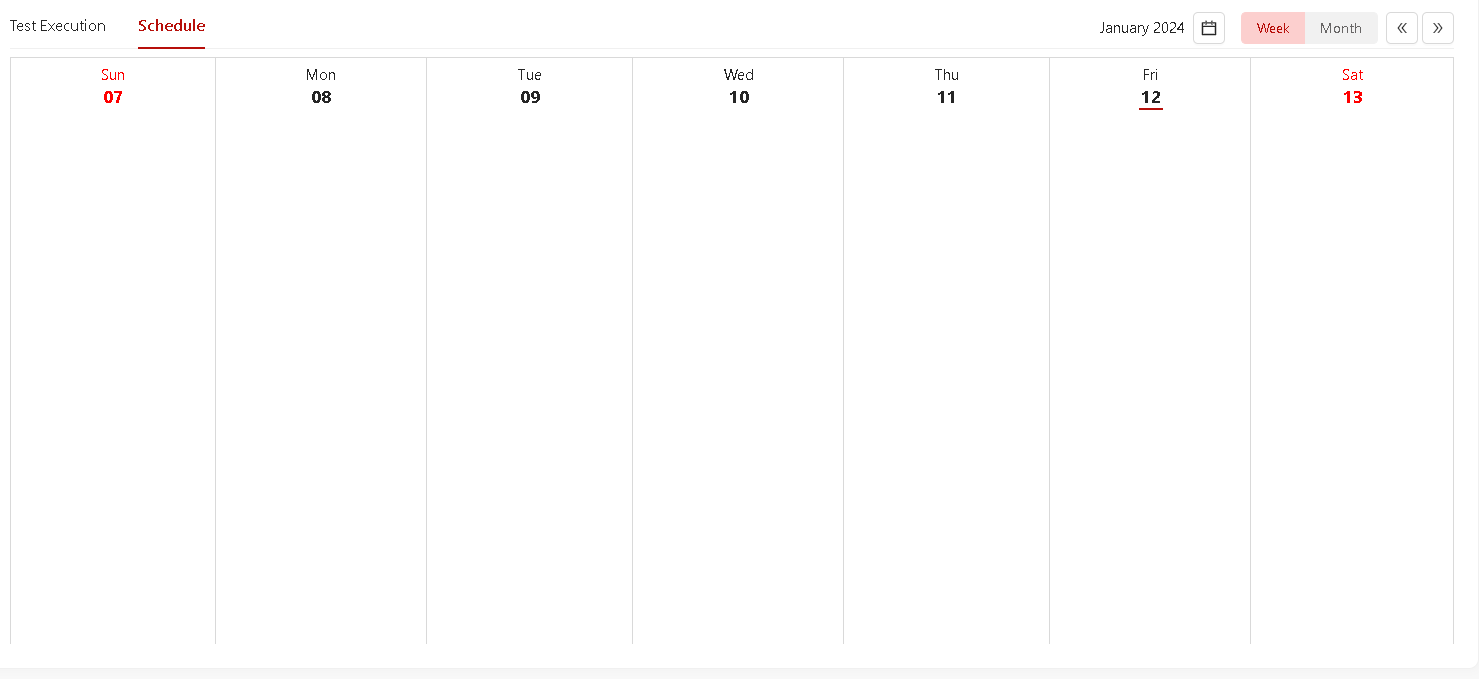
4. View schedule
When user click on Schedule tab of any Test Suite on the Test Planning, user is able to see the schedule and test result of all test cases on the Test Suite by Month or by Week.