GIT Support Tab
GIT Support Tab use to help So that the whole project can work as a team on a unified repository Easy to change management Convenient when coding and pushing code on the same tool, avoiding having to use many error-prone tools Saving time
2.19.1. Initialize Git
A Git repository is a virtual storage place for your project that allows you to save versions of your code so that you can access them when needed. If you haven't had a git repository, this feature will initialize a new git repository.
Following these steps:
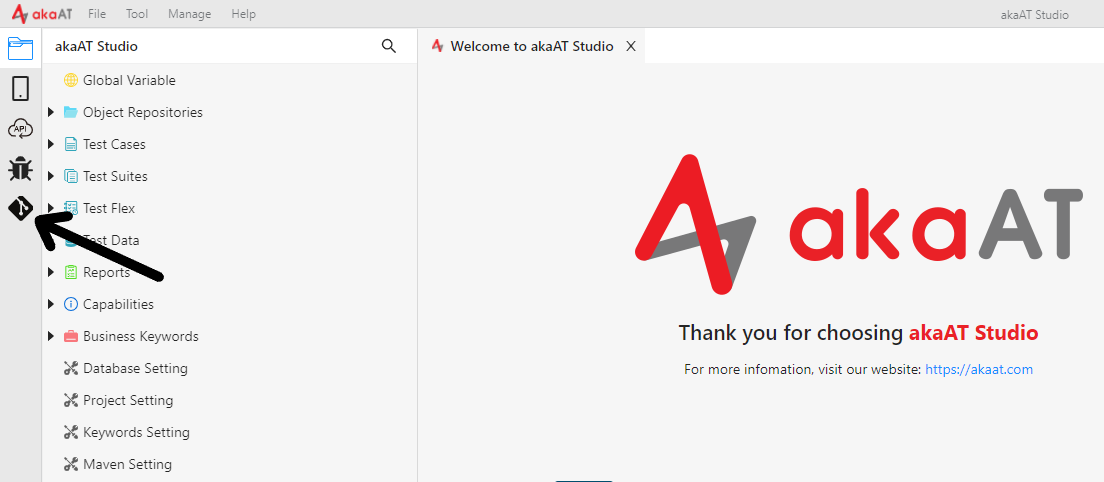
- Step 1: Click on “Git” icon
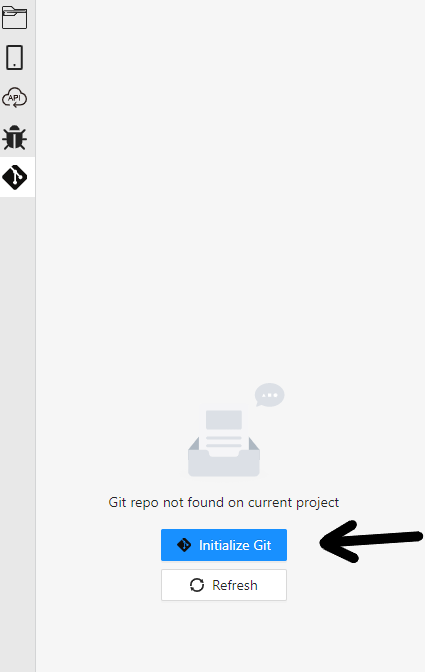
- Step 2: Click on "Initialize Git" button
- Result: That screen will be shown when setting up Git successfully:
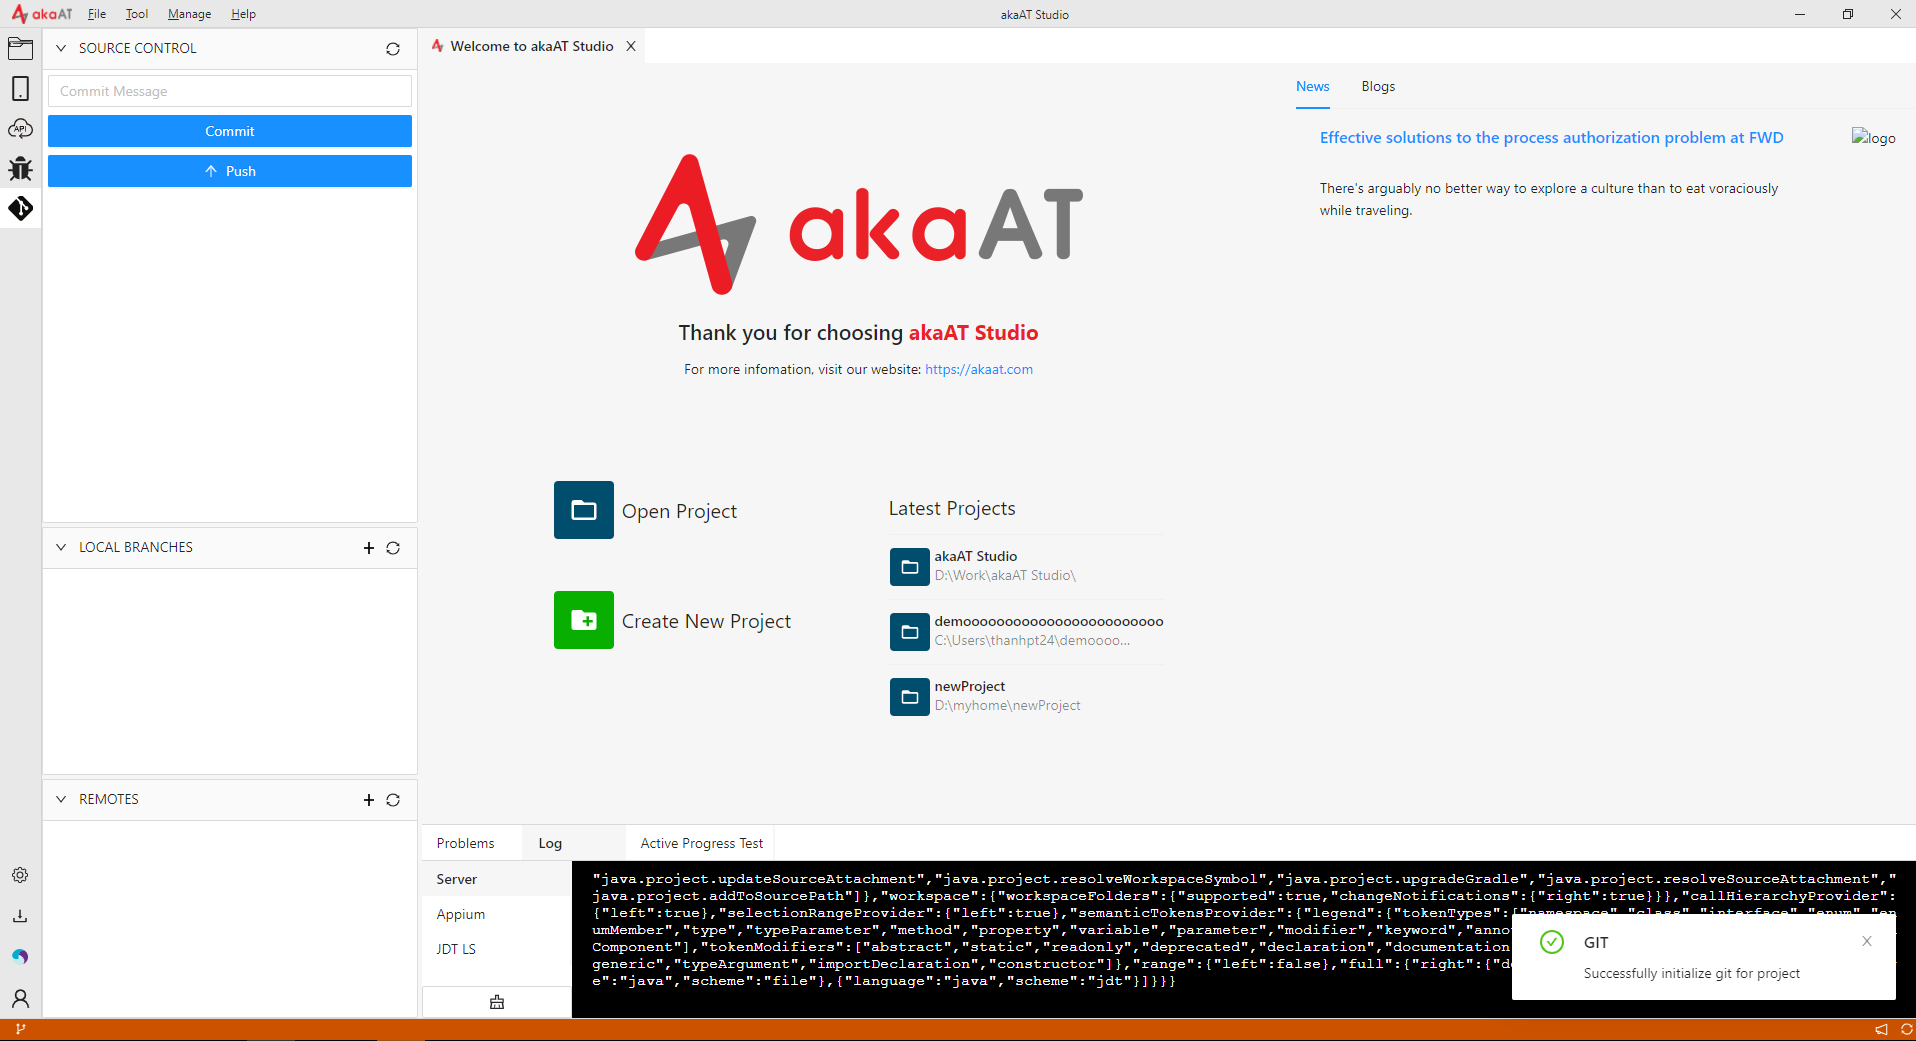
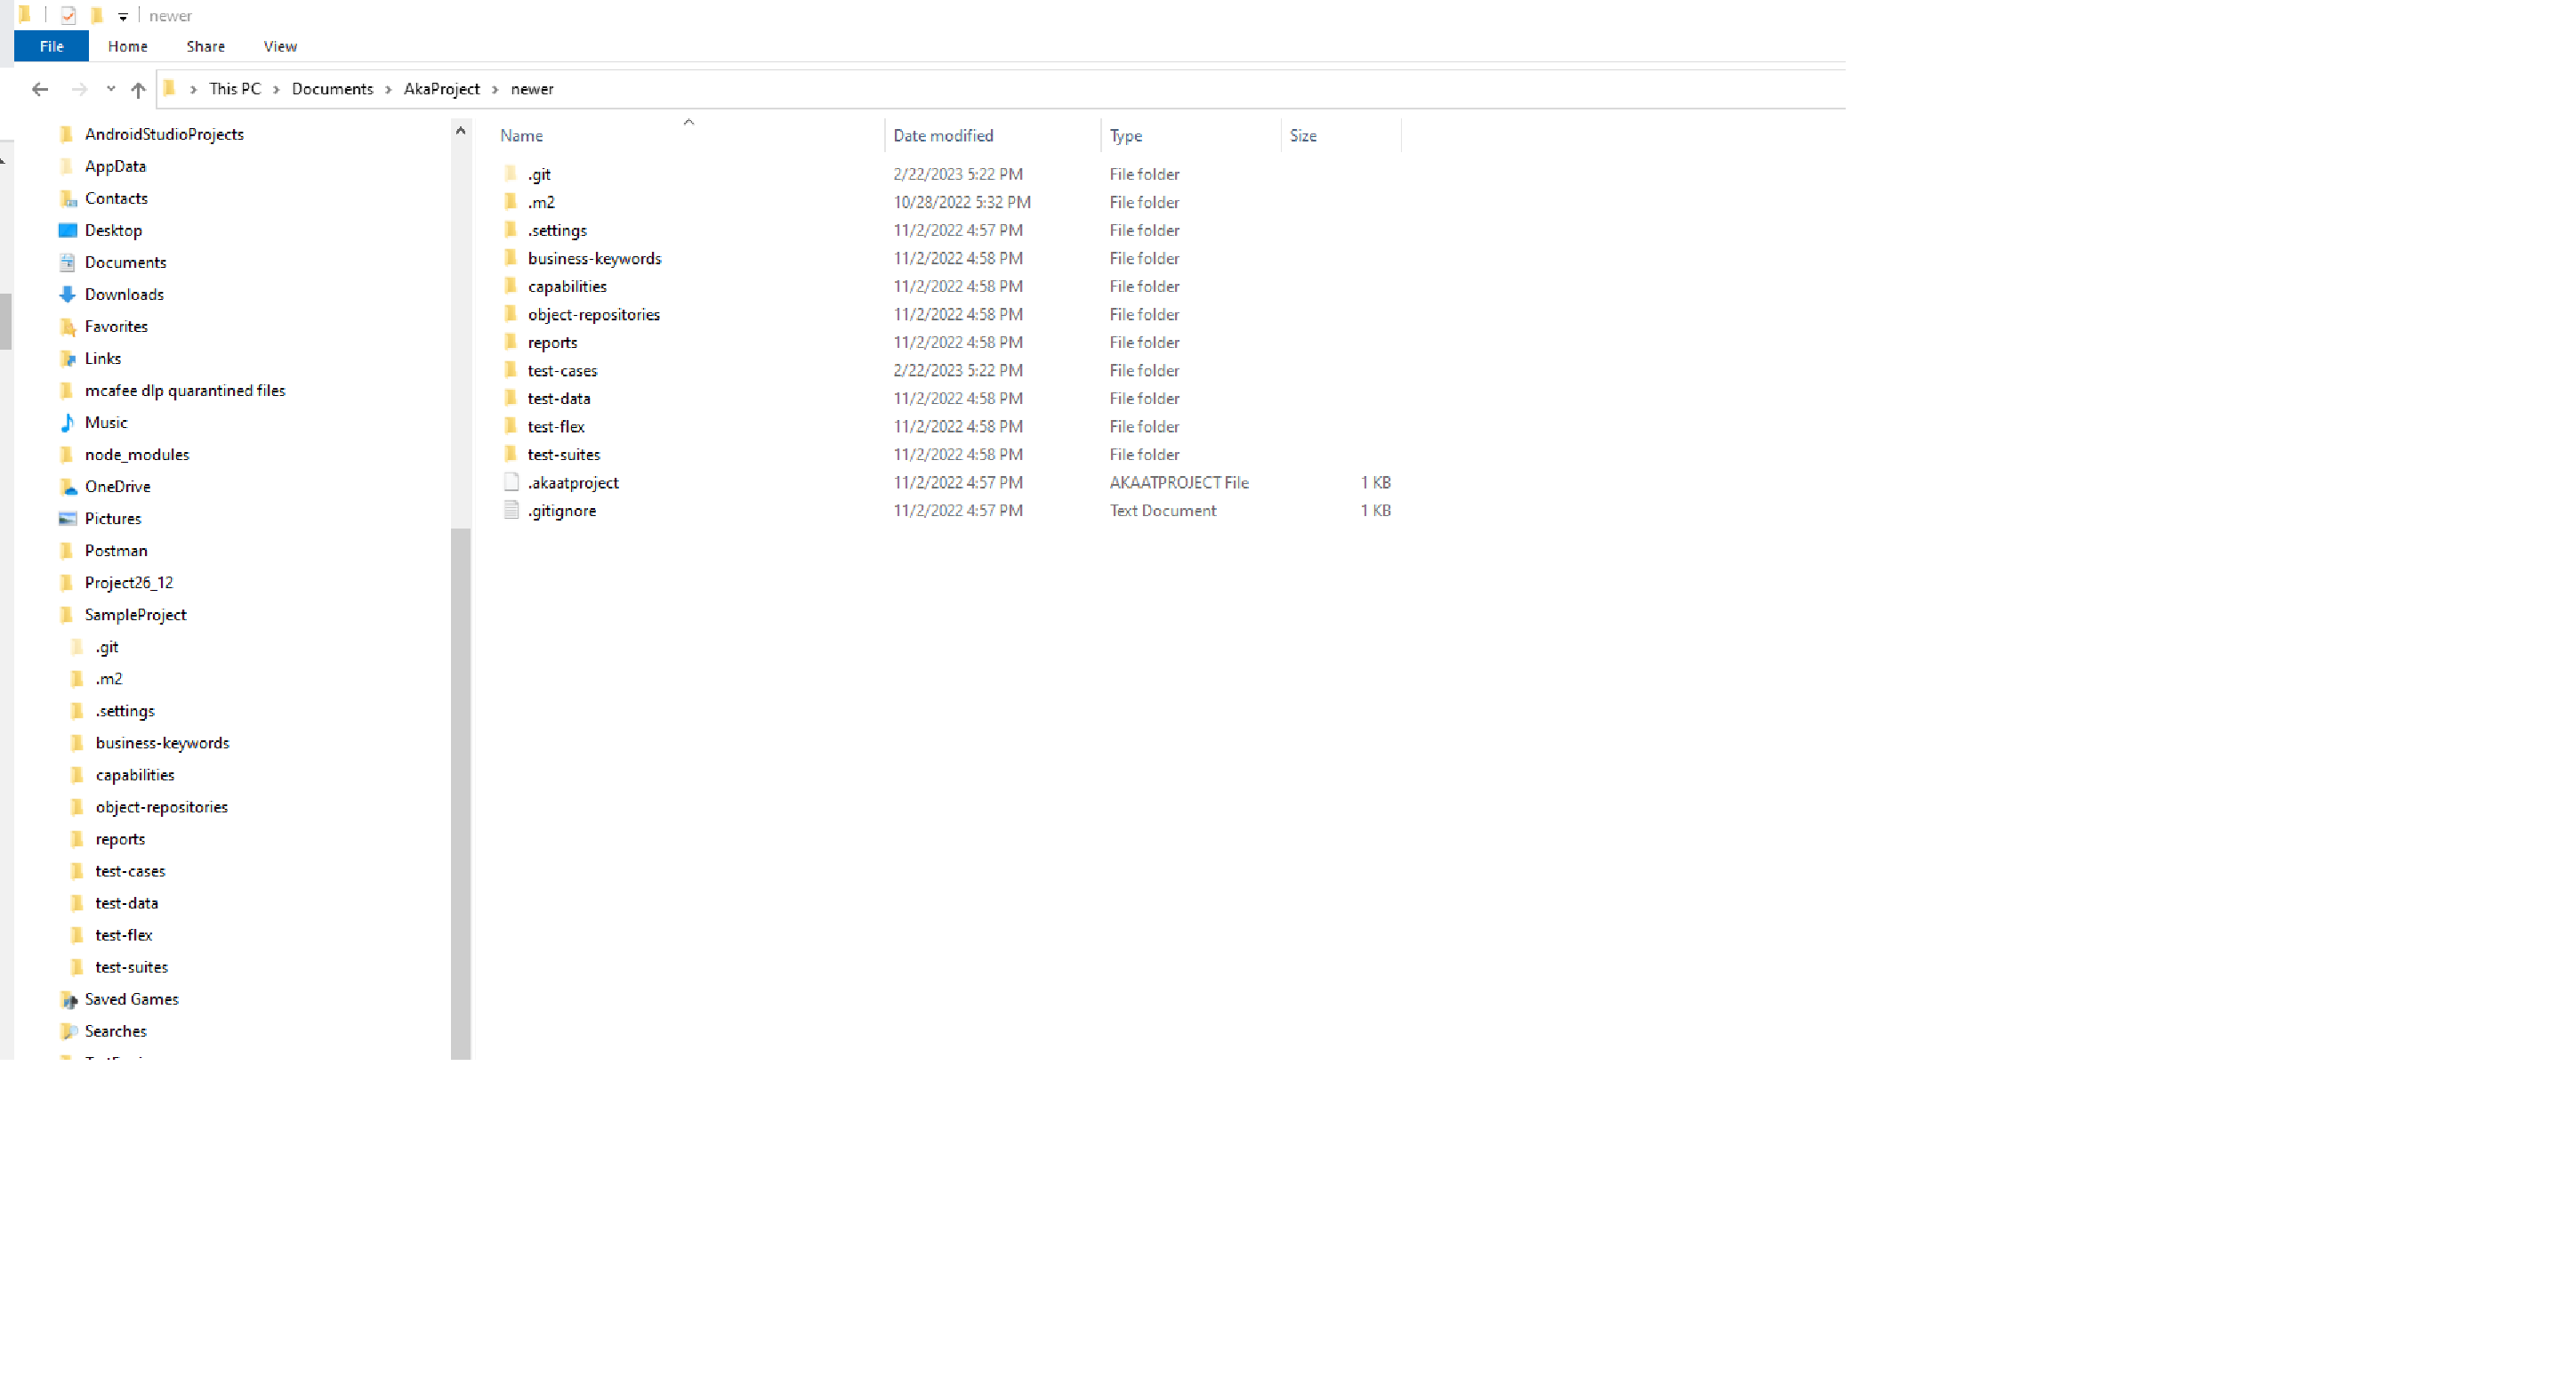
And a ".git" folder will appear in your project folder
**2.19.2. Import Project From Git **
IMPORTANT: Pre-condition: - Must have a url git repository (Azure DevOps/ gitlab/ github)
Purpose: If you have a git repository, this feature will support you to clone a project from git repository
-
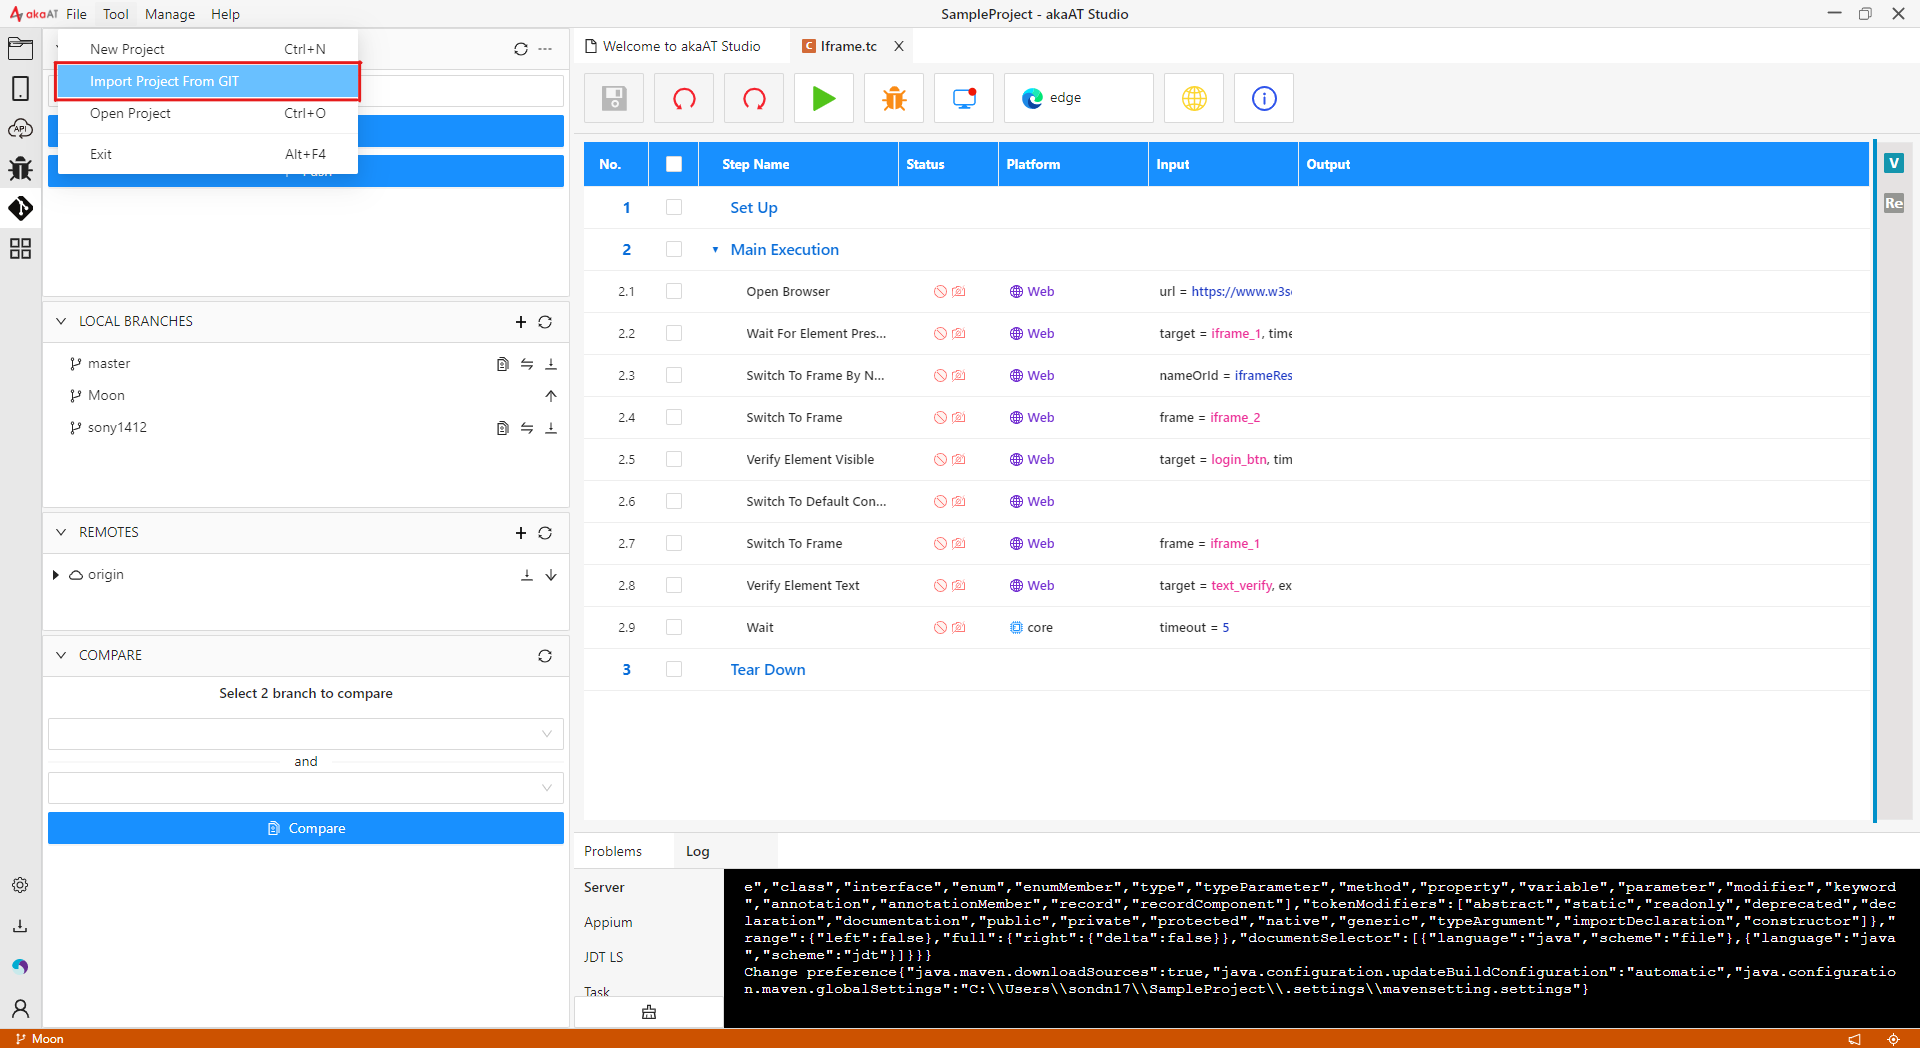
Click on "Tool" > Import Project From Git
-
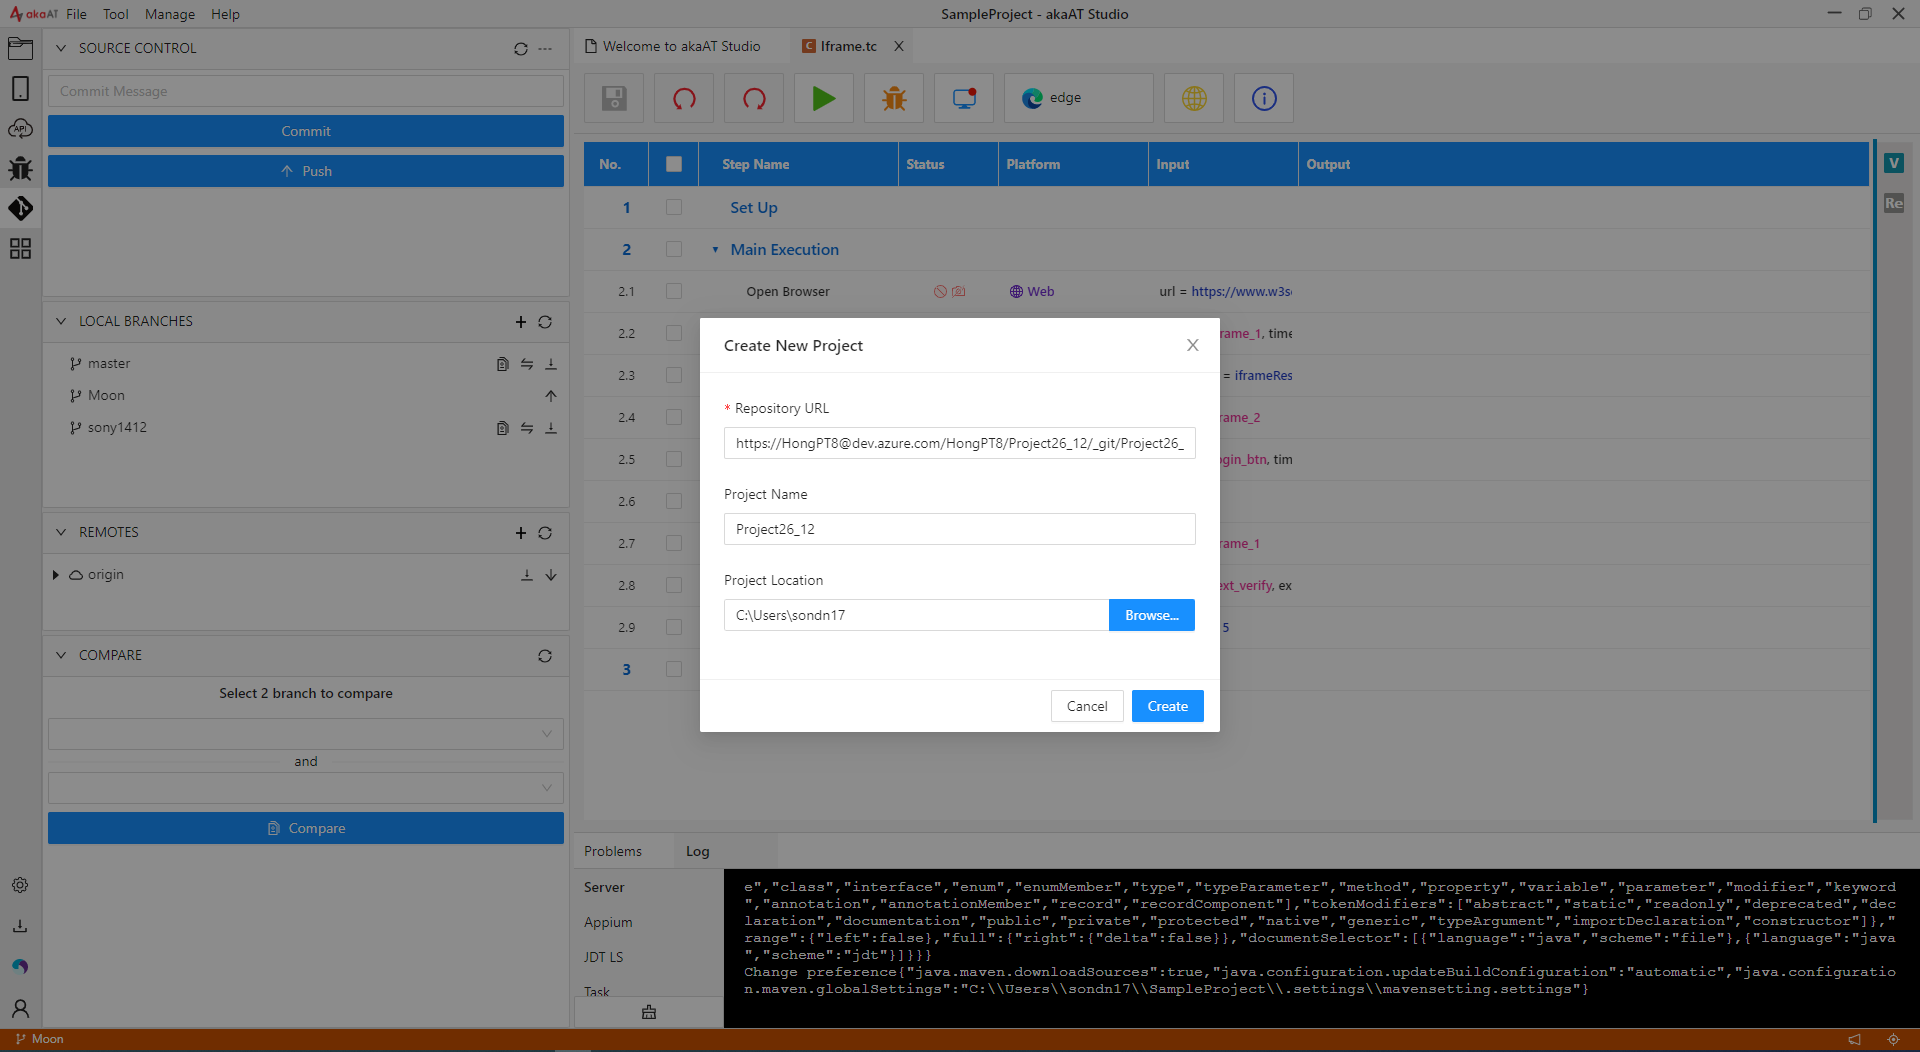
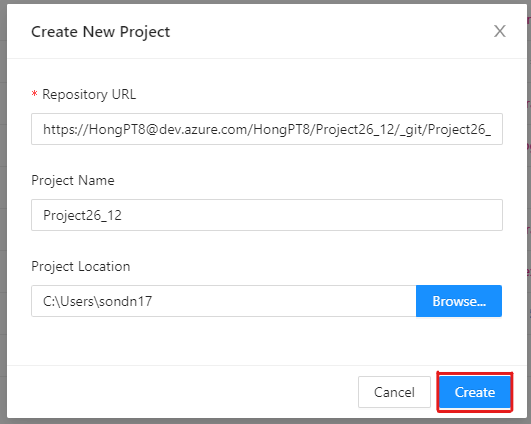
Copy and paste repository url and choose project location
-
Click on "Create" button
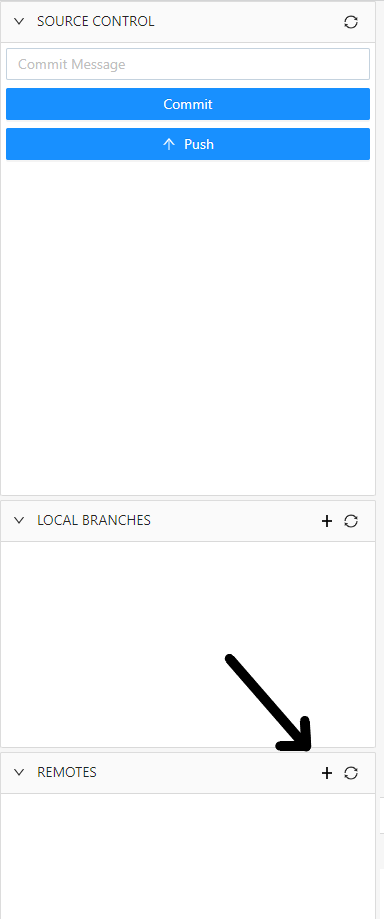
**2.19.3. “Add Remote” **
-
In this session you can add a git repository.
-
Click on "+" icon in REMOTES
- Input your Remote Name and Remote Repository:

- After clicking on "Add" button, the screen of git display like this: - master : is the default branch name of git repository - A new tab with the name input: will display and when you hover it, you can see Remote Repository URL

- Click on [Add] and [Save] button to register this keyword to catalog.respond.pond.
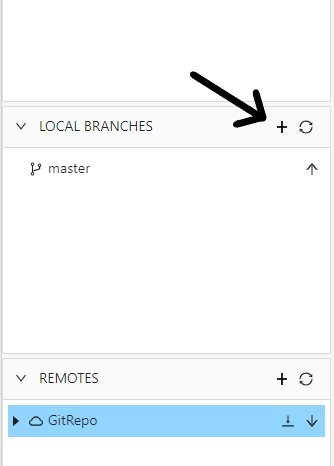
**2.19.4. “Add Local branch” **
-
In this session you can add a local branch.
-
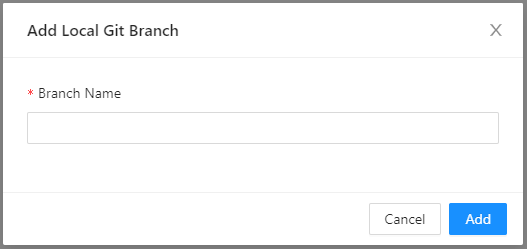
Click on "+" icon in LOCAL BRANCHES
- Input name of branch
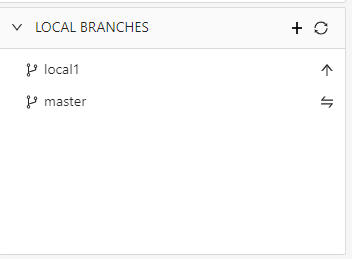
- After clicking on "Add" button, you can see new local branch
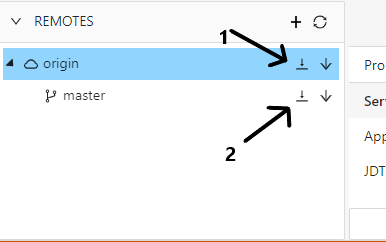
**2.19.5. “Pull from Git repository to Local Project” **
- Can pull directly from git repository with default branch of repos or from a detail branch
-
Click button "+" on 1 to pull direct from git repos with default branch
-
Click button "+" on 2 to pull from a detail branch
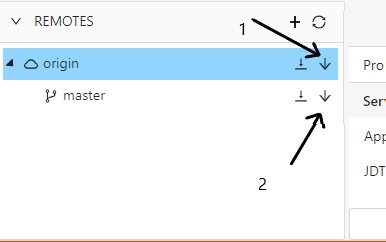
**2.19.6. “Fetch from Git repository to Local Project” **
- Fetch directly from git repository with default branch of repos or from a detail branch
-
Click button "+" on 1 to fetch direct from git repos with default branch
-
Click button "+" on 2 to fetch from a detail branch
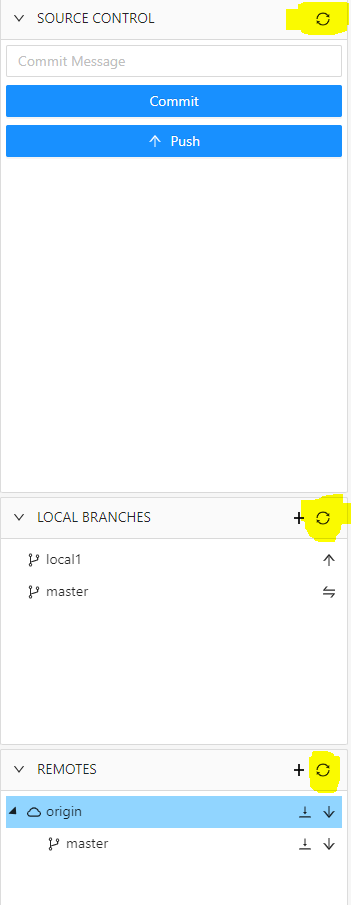
**2.19.7. “Reload” button **
- Reload each sessions by click on each "Reload" button on that session
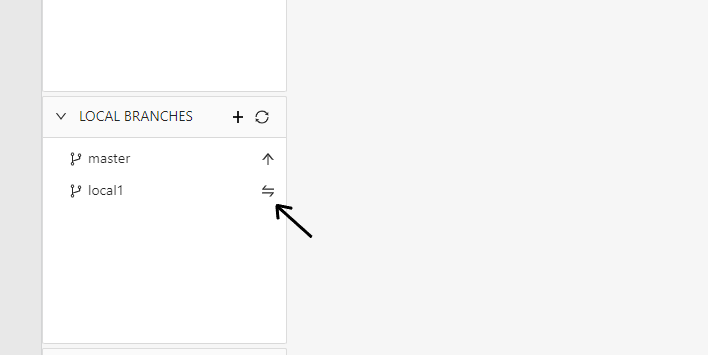
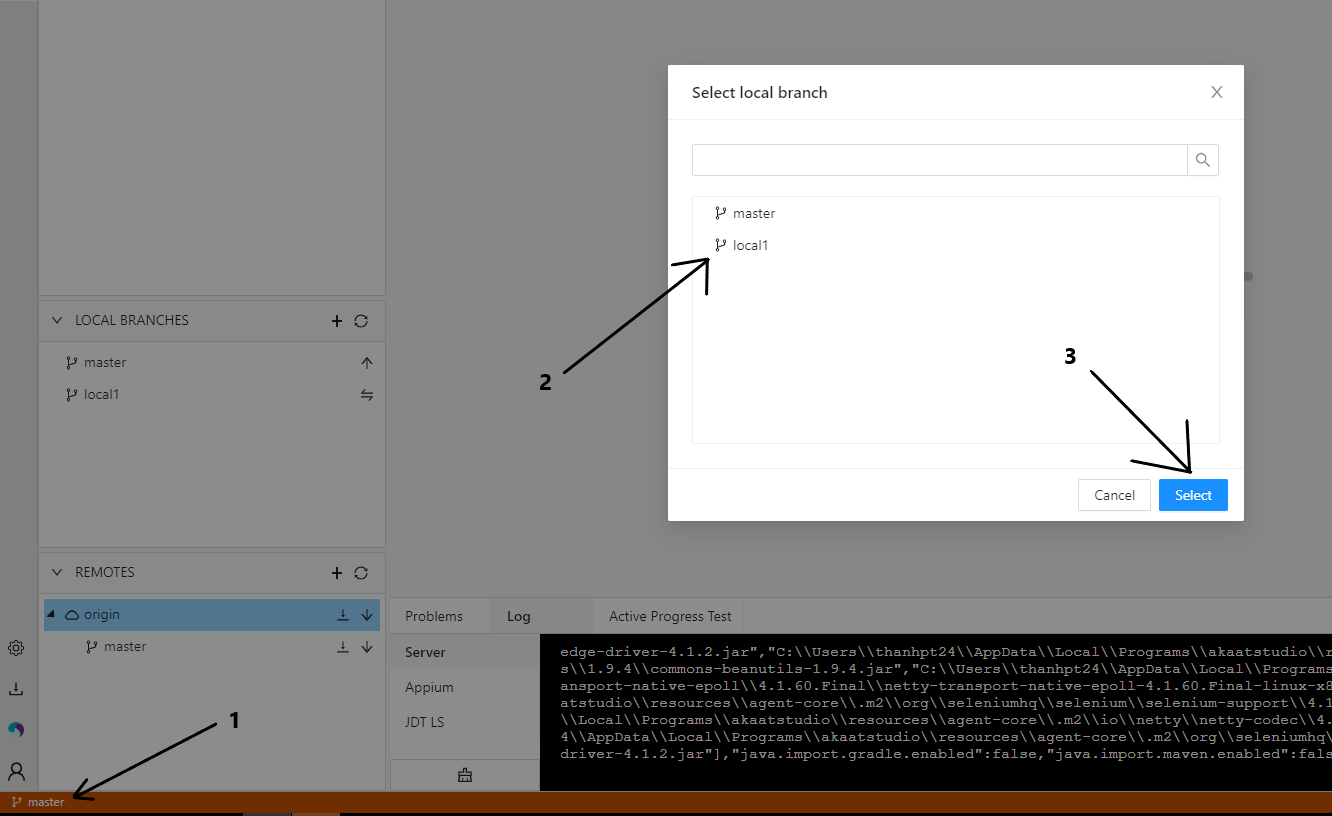
**2.19.8. Switch branch **
-
Switch between branches with 2 ways:
-
Way 1:
- Click "Switch" button on branch you want to switch
- Way 2:
- Click branch name on left bottom of tool - Choose branch you want to switch - Click "Select" button
**2.19.9. Changes ("Add" command on git) session **
- This feature shows everything that be changed in project
**2.19.9.1. Before staging **
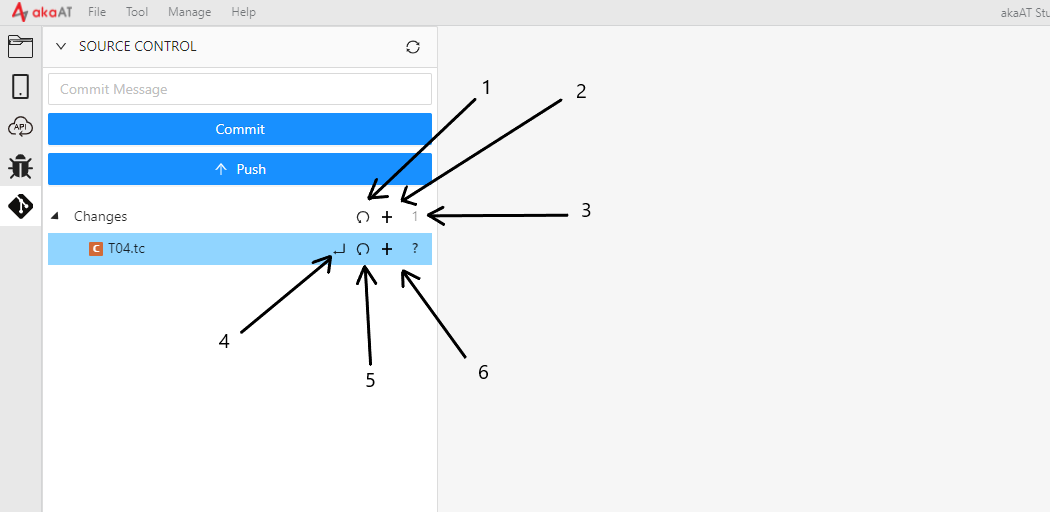
- Discard All Changes : To discard unstaged changes in all tracked files in the project.
- Stage All Changes : To stage all changed files is simply to prepare it finely for a commit.
- Number of file change in your project
- Open file : Open current file changes
- Discard Changes : To discard unstaged changes in a tracked files in the project.
- Stage Changes : To stage a changed files is simply to prepare it finely for a commit.
**2.19.9.2. After staging **
- When you click on "+" (Stage All Changes) button, a new session will be displayed, in this session you can unstage change/undo file(s) if you don't want to change
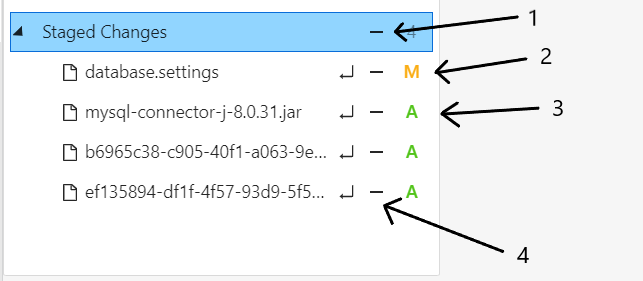
- Unstage All Changes : All changes that are not tracked by the Git
- M -> This icon stand for : This file was modified
- A -> This icon stand for : This file was added
- Unstage Changes : Changes that are not tracked by the Git
**2.19.10. Commit **
- Following steps below:
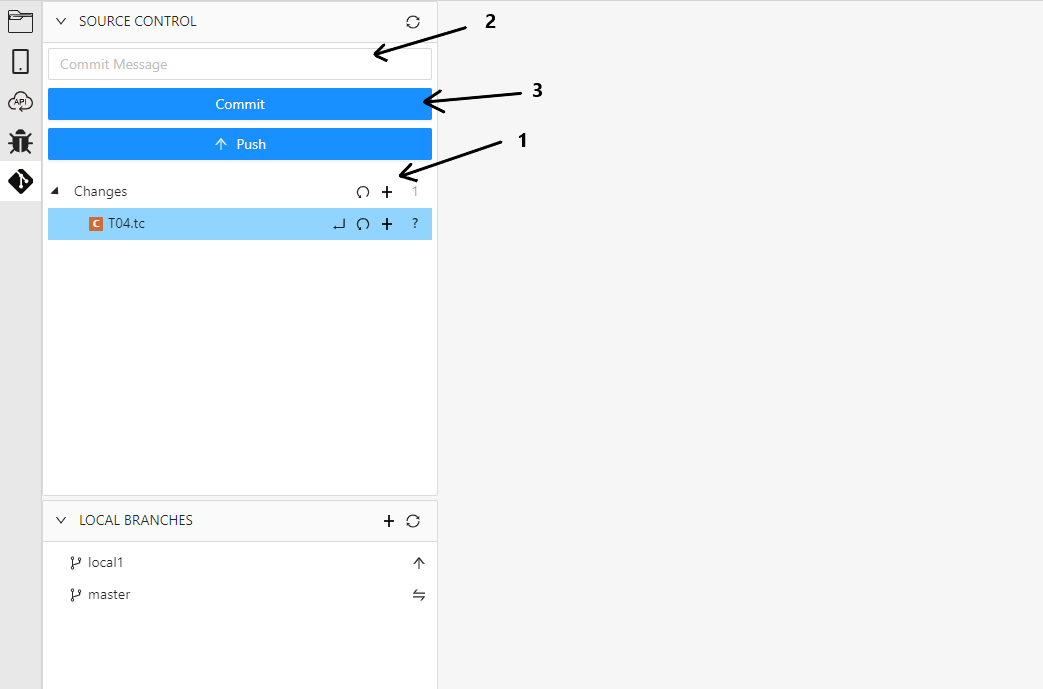
- Click on "Stage All Changes" button if you want to save all of things that you add/modify/delete or each file you want
- Input your commit message
- Click on "Commit" button
**2.19.11. Push **
- Must commit first before pushing
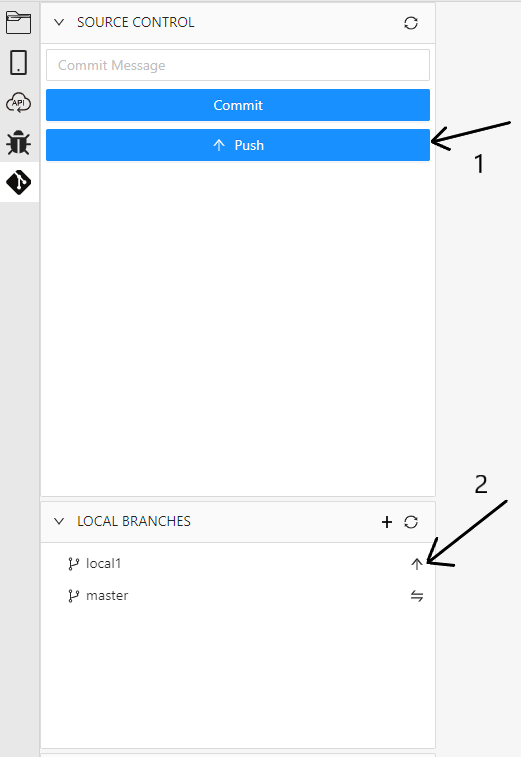
- Two way to Push in Project
- Click on "Push" button
- Click on "Push" button in the branch that you want to push
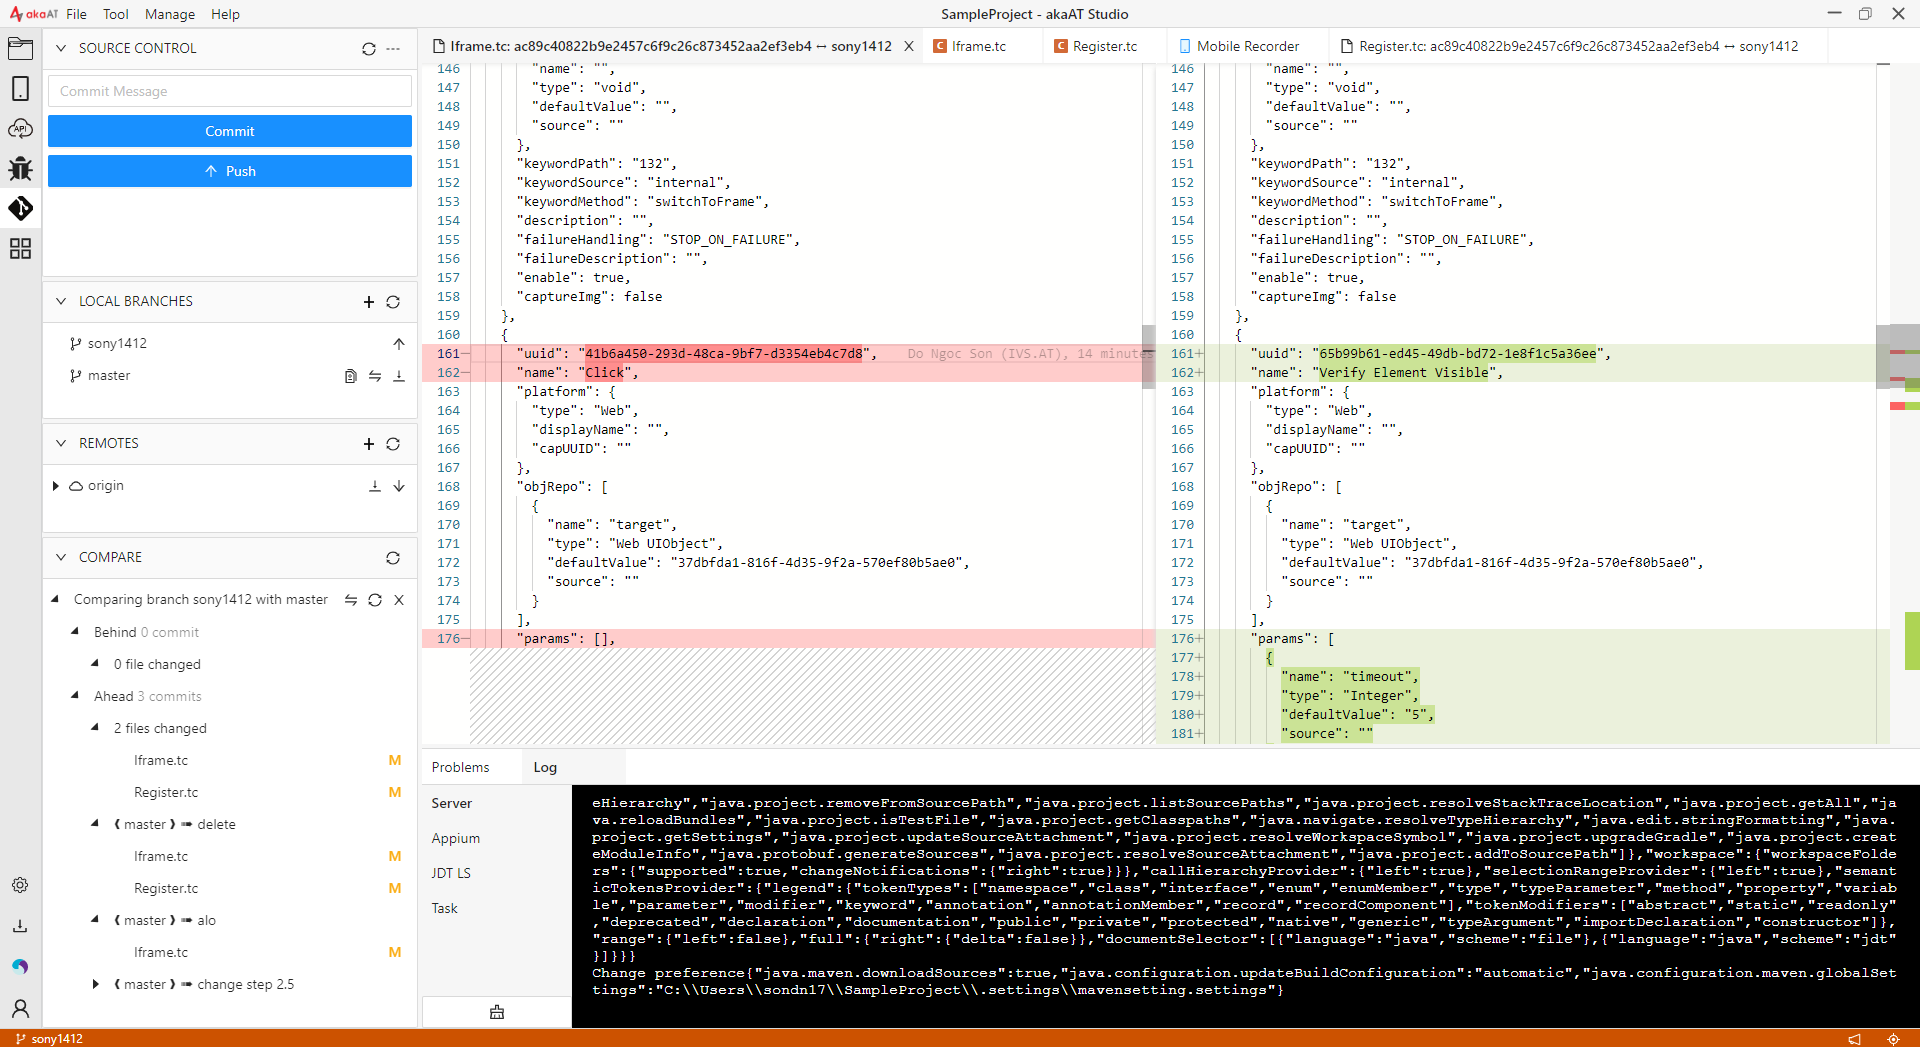
2.19.12. Compare branches
This is a feature to compare 2 branches together. It can be used as a quick way to see if you will have merging conflicts.
- Pre-condition: Must have at least 2 branches in your git
- Choose 2 branches that you want to compare then clicking on "Compare" button
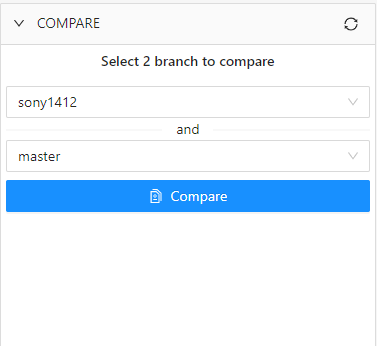
- It shows you 2 main parts of this feature: - Behind - Ahead